
Intro
Discover 5 ways to build pumpkin masterpieces, from carving to decorating, with expert tips on pumpkin arrangement, fall decor, and seasonal crafting, perfect for Halloween and autumn enthusiasts.
Pumpkins are a popular and versatile vegetable, widely used in cooking, decoration, and even as a symbol of fall and Halloween. Building a pumpkin, whether it's for decorative purposes or to create a unique planter, can be a fun and rewarding DIY project. With a few simple tools and some creativity, you can create your own pumpkin masterpiece. In this article, we will explore five ways to build a pumpkin, from traditional carving to more complex and creative designs.
Pumpkins have been a part of human culture for thousands of years, with evidence of pumpkin cultivation dating back to ancient civilizations in North America. Today, pumpkins are grown and enjoyed all over the world, with different varieties and sizes available for various uses. Whether you're looking to create a spooky jack-o'-lantern for Halloween or a beautiful centerpiece for your dining table, building a pumpkin can be a fun and rewarding experience.
From simple designs to complex and intricate patterns, the possibilities for building a pumpkin are endless. With the right tools and a little bit of creativity, you can create a pumpkin that reflects your personality and style. In this article, we will explore five different ways to build a pumpkin, including traditional carving, painting, decoupage, mosaic, and sculpting. Whether you're a seasoned crafter or a beginner, you'll find a project that suits your skills and interests.
Introduction to Pumpkin Building
Choosing the Right Pumpkin
When selecting a pumpkin for your project, consider the following factors: * Size: Choose a pumpkin that is the right size for your project. If you're making a jack-o'-lantern, you'll want a pumpkin that is large enough to hold a candle or light source. * Shape: Consider the shape of the pumpkin and how it will affect the overall design. Round pumpkins are great for carving and painting, while elongated pumpkins may be better suited for sculpting and decoupage. * Skin: The skin of the pumpkin can affect the overall appearance of your design. Smooth-skinned pumpkins are great for carving and painting, while bumpy-skinned pumpkins may be better suited for mosaic and sculpting.Method 1: Traditional Carving
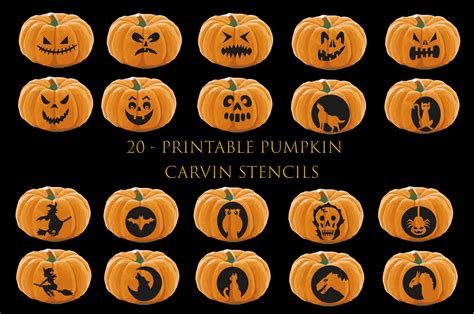
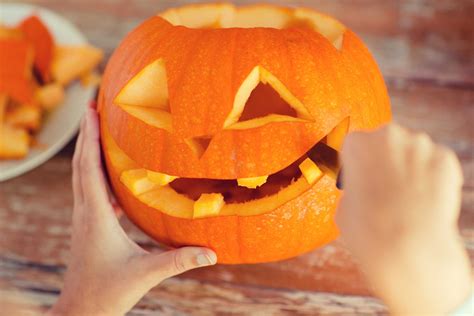
To carve a pumpkin, you'll need a few simple tools:
- A sharp knife or carving tool
- A pencil or marker
- A pattern or design
- A scoop or spoon for removing seeds and flesh
Carving Tips and Tricks
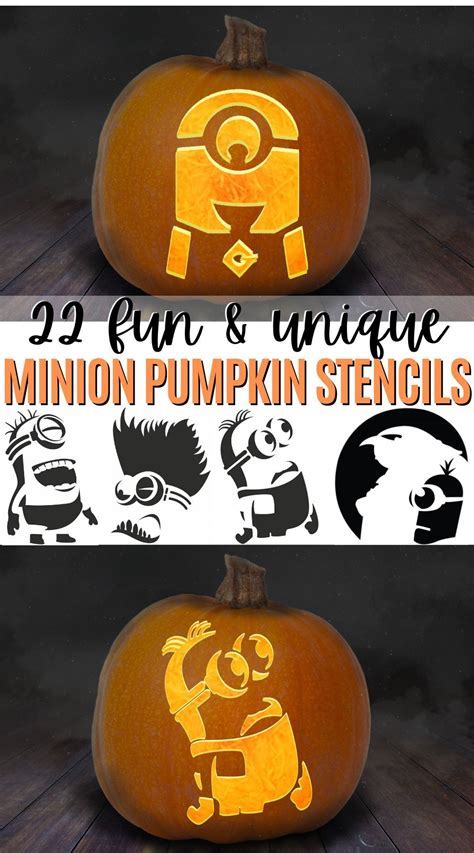
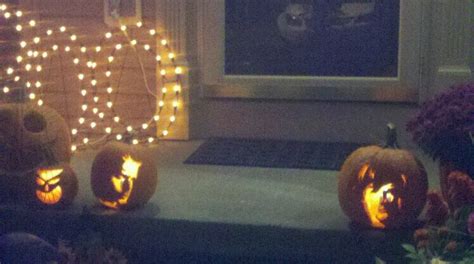
Here are a few tips and tricks to keep in mind when carving a pumpkin: * Use a sharp knife or carving tool to avoid accidents and make the carving process easier. * Start with a simple design and gradually move on to more complex patterns. * Use a pencil or marker to draw your design onto the pumpkin before carving. * Remove seeds and flesh from the pumpkin to make it easier to carve and to prevent rot.Method 2: Painting
To paint a pumpkin, you'll need a few simple tools:
- Paint and a brush
- A design or pattern
- A primer or base coat (optional)
- A sealant or clear coat (optional)
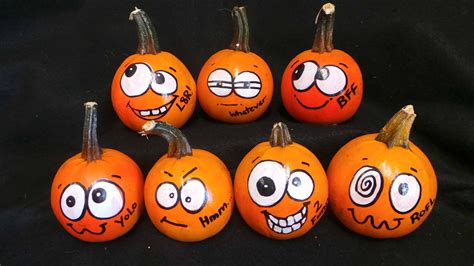
Painting Tips and Tricks
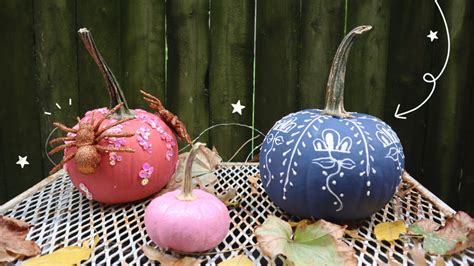
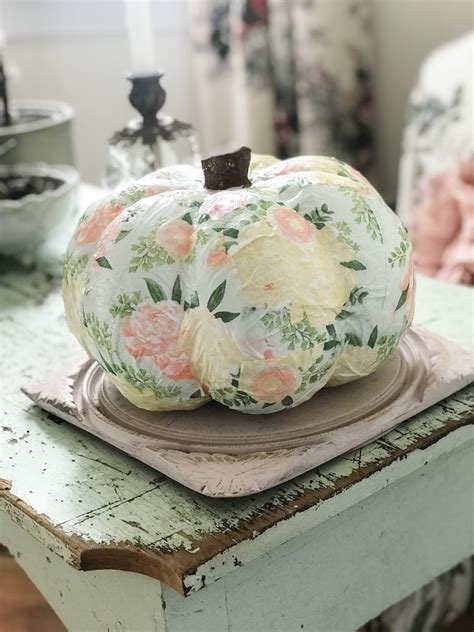
Here are a few tips and tricks to keep in mind when painting a pumpkin: * Use a primer or base coat to help the paint adhere to the pumpkin and to create a smooth surface. * Choose a design or pattern that is simple and easy to paint. * Use a small brush to add details and a larger brush to cover larger areas. * Seal your design with a clear coat to protect it from the elements and to make it last longer.Method 3: Decoupage
To decoupage a pumpkin, you'll need a few simple tools:
- Cut-out images or paper
- A glue or adhesive
- A brush or applicator
- A sealant or clear coat (optional)
Decoupage Tips and Tricks
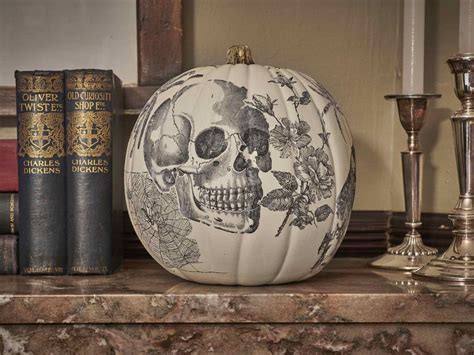
Here are a few tips and tricks to keep in mind when decoupaging a pumpkin: * Choose images or paper that are colorful and eye-catching. * Use a glue or adhesive that is specifically designed for decoupage. * Apply a thin layer of glue to the pumpkin and attach the images or paper. * Seal your design with a clear coat to protect it from the elements and to make it last longer.Method 4: Mosaic
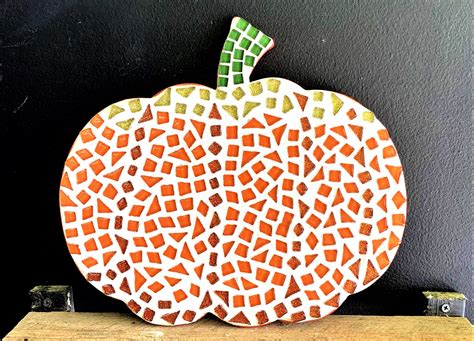
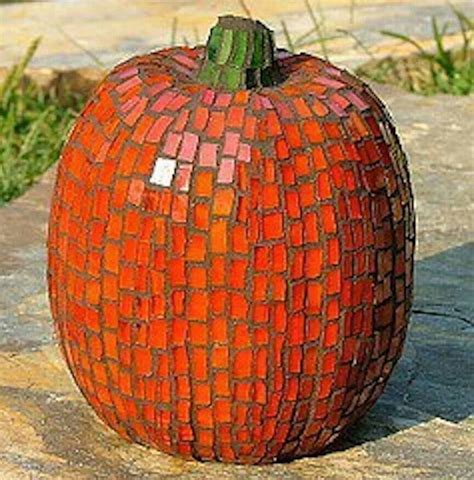
To create a mosaic pumpkin, you'll need a few simple tools:
- Small tiles or pieces of material
- A glue or adhesive
- A design or pattern
- A grout or filler (optional)
Mosaic Tips and Tricks
Here are a few tips and tricks to keep in mind when creating a mosaic pumpkin: * Choose tiles or pieces of material that are small and uniform. * Use a glue or adhesive that is specifically designed for mosaic. * Apply a thin layer of glue to the pumpkin and attach the tiles or pieces of material. * Use a grout or filler to fill in the gaps between the tiles and to create a smooth surface.Method 5: Sculpting
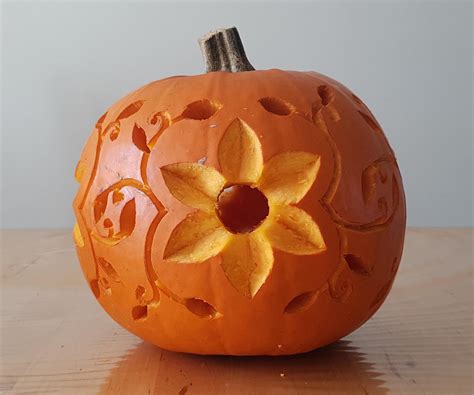
To sculpt a pumpkin, you'll need a few simple tools:
- A sharp tool or knife
- A design or pattern
- A scoop or spoon for removing seeds and flesh
- A sealant or clear coat (optional)
Sculpting Tips and Tricks
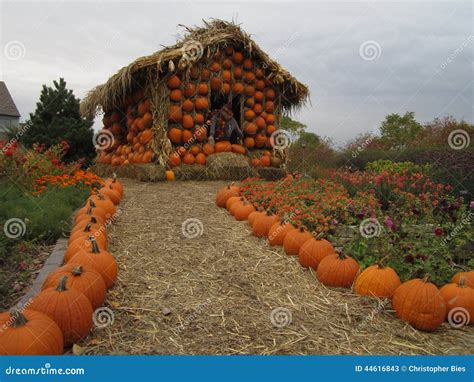
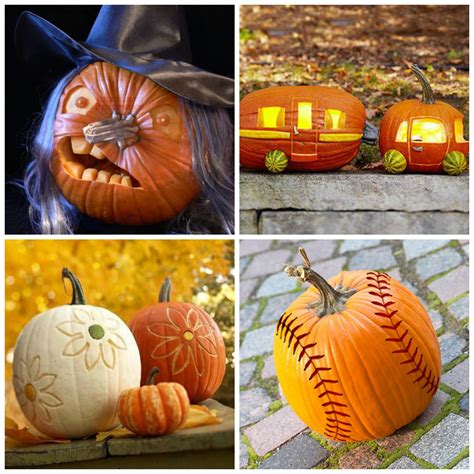
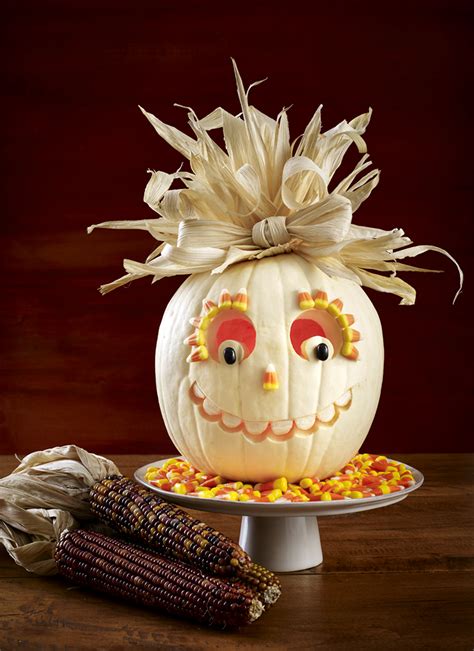
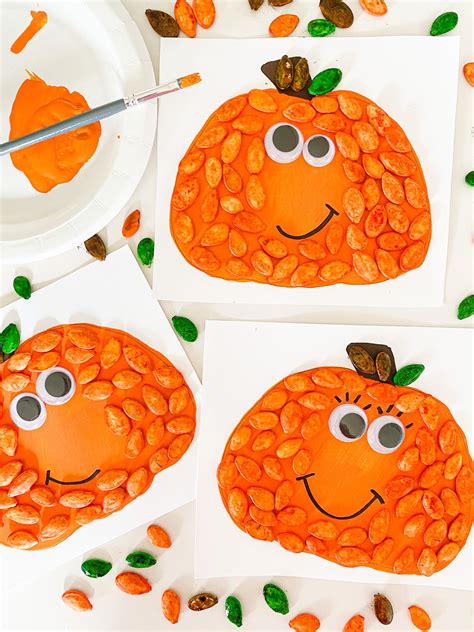
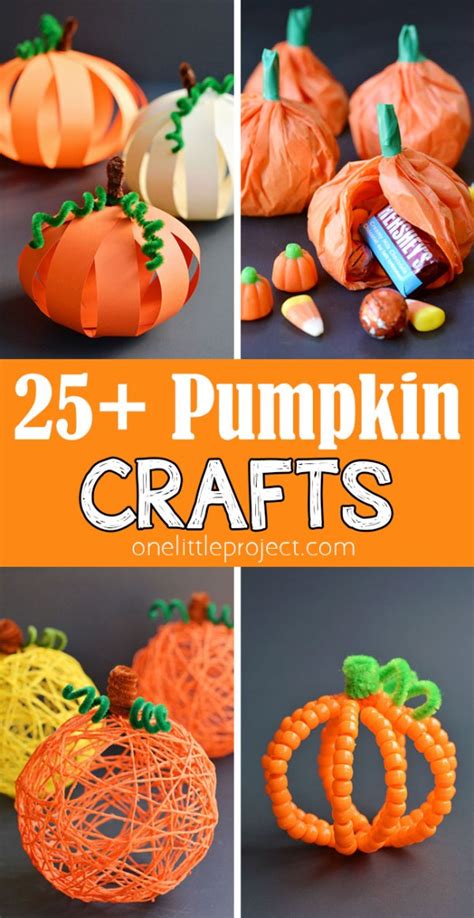
Here are a few tips and tricks to keep in mind when sculpting a pumpkin: * Use a sharp tool or knife to avoid accidents and to make the sculpting process easier. * Start with a simple design and gradually move on to more complex shapes. * Remove seeds and flesh from the pumpkin to make it easier to sculpt and to prevent rot. * Seal your design with a clear coat to protect it from the elements and to make it last longer.Pumpkin Building Image Gallery
What is the best way to build a pumpkin?
+The best way to build a pumpkin depends on your personal preferences and the design you have in mind. You can choose from traditional carving, painting, decoupage, mosaic, or sculpting, depending on your skills and interests.
What tools do I need to build a pumpkin?
+The tools you need to build a pumpkin depend on the method you choose. For traditional carving, you'll need a sharp knife or carving tool, a pencil or marker, and a scoop or spoon for removing seeds and flesh. For painting, you'll need paint and a brush, a design or pattern, and a primer or base coat (optional). For decoupage, you'll need cut-out images or paper, a glue or adhesive, and a brush or applicator. For mosaic, you'll need small tiles or pieces of material, a glue or adhesive, and a design or pattern. For sculpting, you'll need a sharp tool or knife, a design or pattern, and a scoop or spoon for removing seeds and flesh.
How do I make my pumpkin last longer?
+To make your pumpkin last longer, you can seal it with a clear coat or varnish, keep it away from direct sunlight and heat, and avoid exposing it to moisture or water. You can also use a preservative or fungicide to prevent rot and mold.
We hope this article has inspired you to try your hand at building a pumpkin. Whether you choose traditional carving, painting, decoupage, mosaic, or sculpting, you'll find that creating a pumpkin can be a fun and rewarding experience. Don't be afraid to experiment and try new things – and don't hesitate to reach out if you have any questions or need further guidance. Happy building! If you have any other questions or topics you'd like to discuss, please leave a comment below. We'd love to hear from you and help you with any other questions or topics you'd like to explore. Share this article with your friends and family, and let's get creative with pumpkins!