
Intro
Boost labeling efficiency with 5 Dymo Label Tips, including organization, font styles, and printer maintenance, to optimize label maker usage and improve productivity with custom labels, label templates, and more.
The world of labeling and organization has undergone a significant transformation in recent years, thanks to the innovative products and solutions offered by Dymo. As a leading brand in the labeling industry, Dymo has been providing users with a wide range of label makers, labels, and software to cater to their diverse needs. Whether you are a home user, a small business owner, or a large enterprise, Dymo has the perfect solution for you. In this article, we will explore five valuable Dymo label tips that will help you get the most out of your label maker and take your labeling game to the next level.
Dymo label makers are versatile devices that can be used for a variety of purposes, from labeling files and folders to creating signs and banners. With the right techniques and strategies, you can unlock the full potential of your Dymo label maker and achieve professional-looking results. From organizing your workspace to creating custom labels for your products, Dymo label makers are the perfect tool for anyone looking to streamline their labeling process.
The importance of labeling cannot be overstated, as it plays a crucial role in maintaining organization, efficiency, and productivity in various aspects of our lives. Whether you are a student, a professional, or a business owner, labeling helps you to quickly identify and categorize your belongings, documents, and products. With Dymo label makers, you can create high-quality labels that are durable, water-resistant, and easy to read. In the following sections, we will delve deeper into the world of Dymo labeling and explore the top tips and tricks for getting the most out of your label maker.
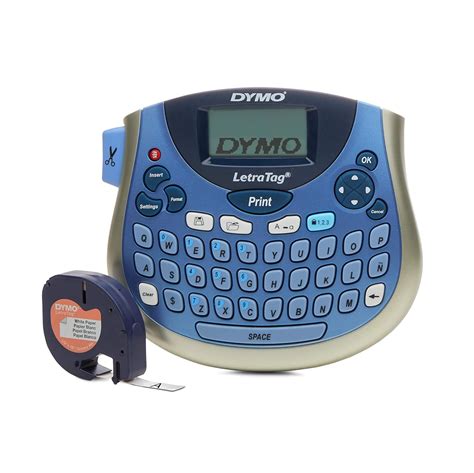
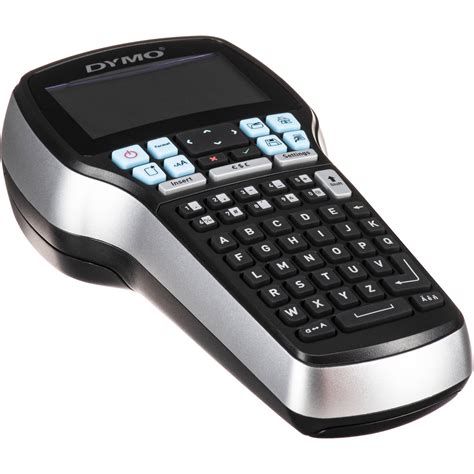
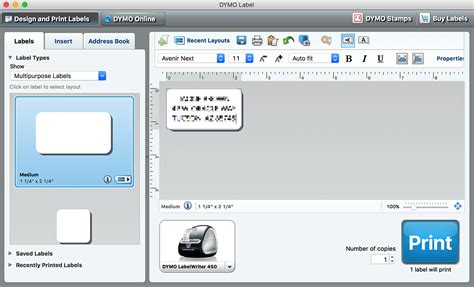
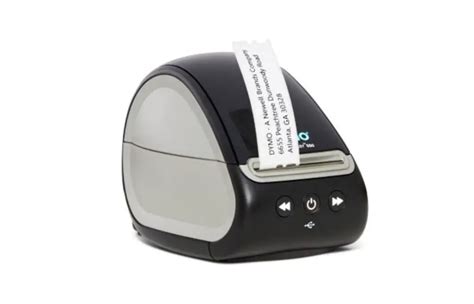
Understanding Your Dymo Label Maker
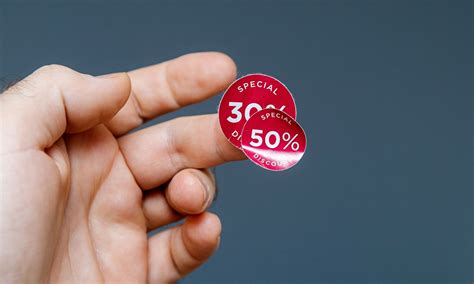
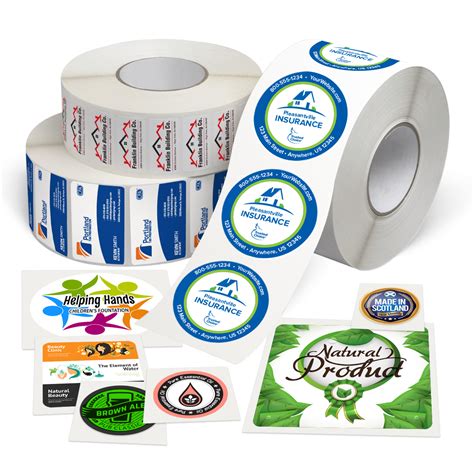
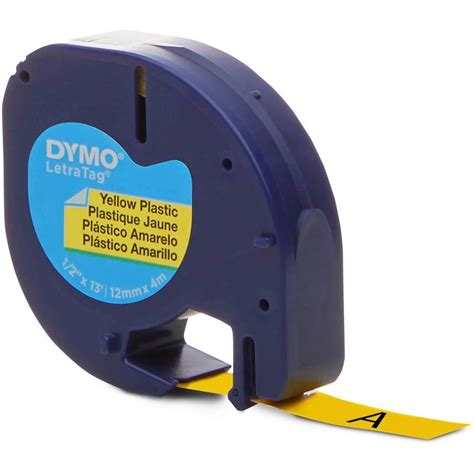
Choosing the Right Labels
Customizing Your Labels
Organizing Your Workspace

Creating Signs and Banners

In addition to these tips, here are some additional strategies for getting the most out of your Dymo label maker:
- Use the Dymo app to create and print labels from your smartphone or tablet
- Experiment with different label sizes and shapes to find the perfect fit for your needs
- Use the built-in cutting tool to trim your labels to the perfect size
- Create custom labels for your products or packaging to add a professional touch
- Use labels to create a filing system for your documents and files
Benefits of Using Dymo Label Makers
The benefits of using Dymo label makers are numerous and well-documented. Some of the most significant advantages include: * Increased productivity and efficiency * Improved organization and clutter reduction * Enhanced professionalism and credibility * Customization and flexibility * Durability and water-resistanceCommon Mistakes to Avoid
While Dymo label makers are relatively easy to use, there are some common mistakes to avoid: * Not reading the user manual or instructions * Using the wrong labels or accessories * Not calibrating the label maker correctly * Not using the built-in cutting tool * Not experimenting with different label sizes and shapesBest Practices for Labeling
To get the most out of your Dymo label maker, follow these best practices for labeling: * Use clear and concise language * Use the right font and font size * Add graphics and images to enhance appearance * Use labels to categorize and prioritize tasks * Create a system that works for youDymo Label Maker Image Gallery

What is the best way to clean my Dymo label maker?
+The best way to clean your Dymo label maker is to use a soft cloth and a mild detergent. Avoid using harsh chemicals or abrasive materials that can damage the device.
How do I troubleshoot common issues with my Dymo label maker?
+To troubleshoot common issues with your Dymo label maker, refer to the user manual or contact the manufacturer's support team. Common issues include jammed labels, incorrect calibration, and connectivity problems.
Can I use my Dymo label maker with my smartphone or tablet?
+Yes, you can use your Dymo label maker with your smartphone or tablet using the Dymo app. The app allows you to create and print labels wirelessly, making it a convenient and portable solution.
In summary, Dymo label makers are powerful tools that can help you to streamline your labeling process, improve organization, and enhance professionalism. By following the tips and tricks outlined in this article, you can unlock the full potential of your Dymo label maker and achieve high-quality results. Whether you are a home user, a small business owner, or a large enterprise, Dymo label makers are the perfect solution for all your labeling needs. So why wait? Start exploring the world of Dymo labeling today and discover the benefits of using these innovative devices. Share your experiences, tips, and tricks with us in the comments below, and don't forget to share this article with your friends and colleagues who can benefit from the power of Dymo labeling.