
Intro
Boost productivity with 5 Dymo tips, including label maker hacks, organization ideas, and printing solutions, to streamline your workspace and maximize efficiency with label management and office supplies.
The world of label making is a vast and wondrous place, full of possibilities and opportunities to get organized and stay on top of your game. At the heart of this world is the Dymo label maker, a tool that has been a staple of offices, homes, and workshops for decades. With its ease of use, versatility, and affordability, it's no wonder that Dymo has become a household name. But are you getting the most out of your Dymo label maker? In this article, we'll explore five tips and tricks to help you unlock the full potential of your Dymo and take your label making to the next level.
Whether you're a busy professional looking to streamline your workflow, a crafter seeking to add a personal touch to your projects, or simply someone who loves to get organized, these tips will show you how to get the most out of your Dymo label maker. From basic techniques to advanced hacks, we'll cover it all. So, let's dive in and discover the amazing things you can do with your Dymo.
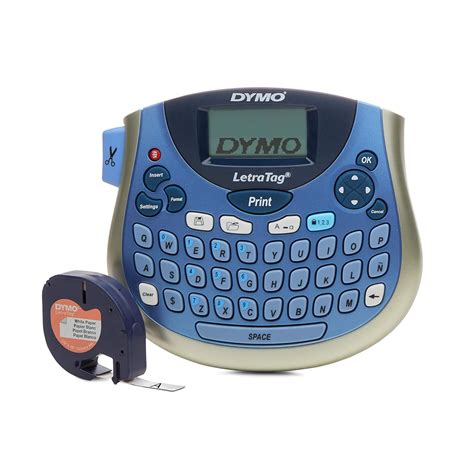
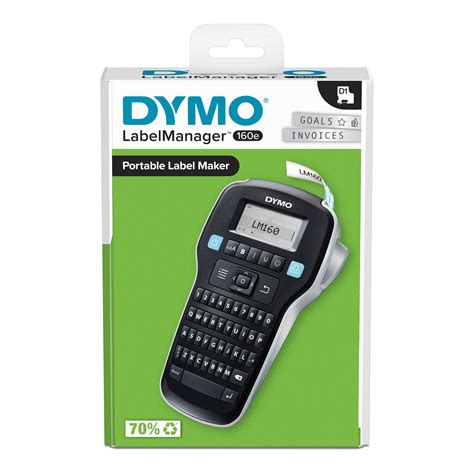
Introduction to Dymo Label Makers
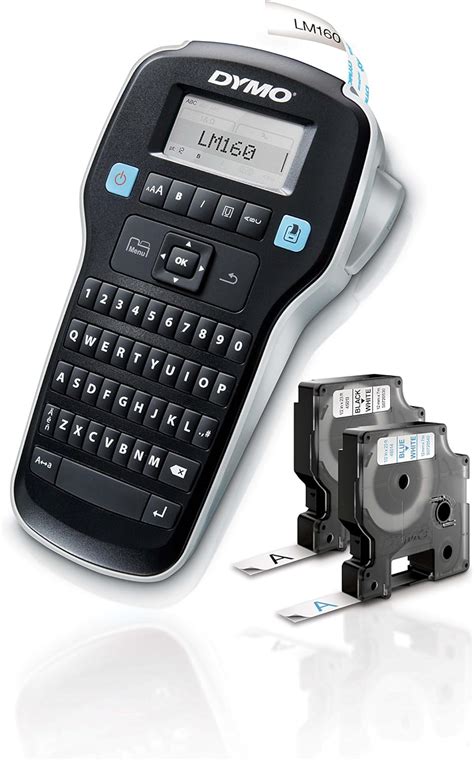
Tip 1: Choose the Right Labels
Here are some popular types of Dymo labels:
- Standard adhesive labels: These are the most common type of label and are great for labeling files, folders, and other office supplies.
- Removable labels: These labels are perfect for temporary labeling applications, such as labeling cables or wires.
- Permanent labels: These labels are designed for applications where the label needs to be permanent, such as labeling equipment or machinery.
- Reflective labels: These labels are designed for applications where visibility is important, such as labeling safety equipment or emergency exits.
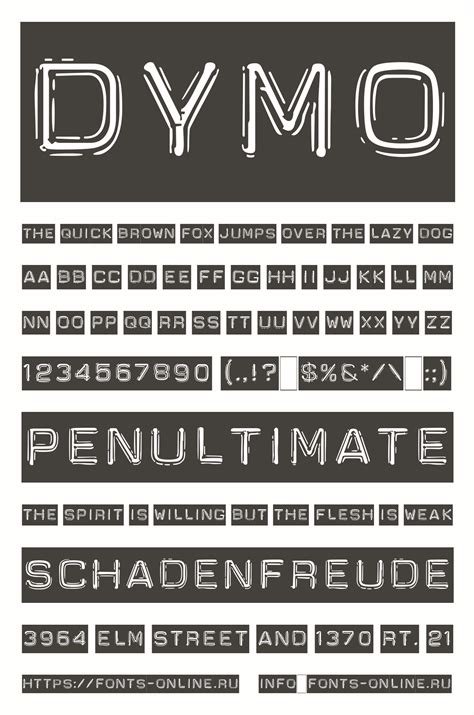
Tip 2: Use the Right Font and Size

Here are some tips for choosing the right font and size:
- Use a clear and easy-to-read font, such as Arial or Helvetica.
- Choose a font size that is large enough to be easily readable, but not so large that it takes up too much space.
- Use bold or italic text to add emphasis to your labels.
- Consider using a font with a built-in margin, such as the Dymo "Label" font, to make your labels look more professional.
Tip 3: Add Images and Logos
Here are some tips for adding images and logos:
- Use high-quality images that are clear and easy to read.
- Choose images that are relevant to the application of your label.
- Use the Dymo software to resize and edit your images to fit your label.
- Consider using a transparent background to make your images stand out.
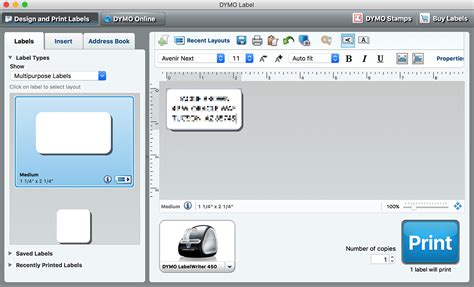
Tip 4: Use the Dymo Software
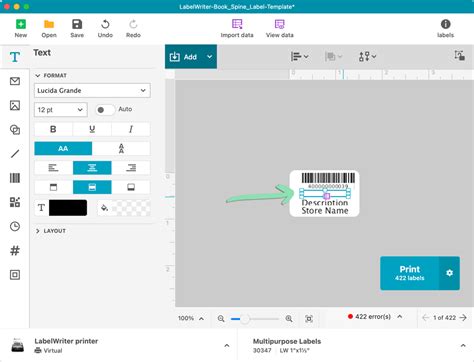
Here are some tips for using the Dymo software:
- Use the software to create complex labels with multiple lines of text and images.
- Print multiple labels at once to save time and increase productivity.
- Use the software to edit and customize your labels, including changing the font, size, and color.
- Consider using the software to create labels with barcodes or QR codes.
Tip 5: Maintain Your Dymo Label Maker
Here are some tips for maintaining your Dymo label maker:
- Clean the printer head regularly to prevent dust and debris from building up.
- Replace the ink ribbon when it runs out to ensure that your labels are printed clearly and accurately.
- Update the software regularly to ensure that you have the latest features and bug fixes.
- Consider using a cleaning kit to clean the printer head and other parts of the label maker.
Gallery of Dymo Label Makers
Dymo Label Maker Image Gallery


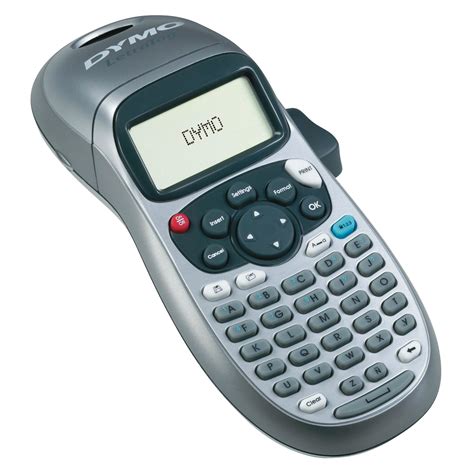
What is a Dymo label maker?
+A Dymo label maker is a type of electronic label maker that uses thermal printing technology to produce high-quality labels.
What types of labels can I use with a Dymo label maker?
+Dymo offers a wide range of labels in different sizes, shapes, and materials, each designed for specific applications.
Can I add images and logos to my labels?
+Yes, you can add images and logos to your labels using the Dymo software or by importing your own images.
How do I maintain my Dymo label maker?
+To maintain your Dymo label maker, clean the printer head regularly, replace the ink ribbon when it runs out, and update the software regularly.
What is the Dymo software?
+The Dymo software is a powerful tool that allows you to customize and edit your labels on your computer.
By following these five tips and tricks, you can unlock the full potential of your Dymo label maker and take your label making to the next level. Whether you're a busy professional, a crafter, or simply someone who loves to get organized, these tips will help you get the most out of your Dymo and create high-quality labels that look great and last long. So why not give them a try and see the difference for yourself? With a little practice and patience, you'll be creating professional-looking labels in no time. Don't forget to share your experiences and tips with others, and happy labeling!