
Intro
Boost image quality with 5 expert editing tips, using photo editing software, and techniques like retouching, color correction, and layering for stunning visual effects.
The art of image editing has become an essential skill in today's digital age. With the rise of social media, online marketing, and digital content creation, images play a crucial role in capturing the audience's attention and conveying messages effectively. However, not all images are created equal, and some may require editing to enhance their quality, relevance, or impact. Whether you're a professional photographer, a social media influencer, or a business owner, learning the basics of image editing can help you take your visual content to the next level. In this article, we'll explore five image editing tips that can help you improve your images and achieve your visual goals.
Image editing is a broad term that encompasses a range of techniques and tools used to manipulate and enhance digital images. From basic adjustments like brightness and contrast to advanced techniques like layering and masking, image editing offers a wide range of possibilities for creative expression and visual storytelling. With the right skills and tools, you can transform ordinary images into extraordinary ones that capture the viewer's attention, evoke emotions, and convey messages with clarity and precision.
The importance of image editing cannot be overstated, especially in today's visual-centric world. Images have the power to break language barriers, transcend cultural boundaries, and communicate complex ideas in a simple and intuitive way. Whether you're creating content for social media, advertising, or educational purposes, image editing can help you refine your visual message, enhance its impact, and engage your audience more effectively. By learning the basics of image editing, you can unlock the full potential of your images and take your visual content to new heights.
Understanding Image Editing Basics
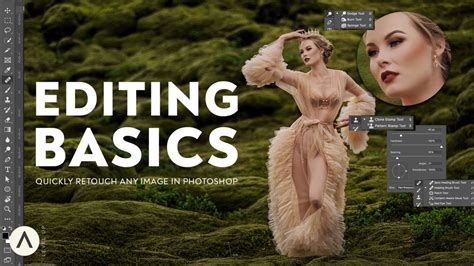
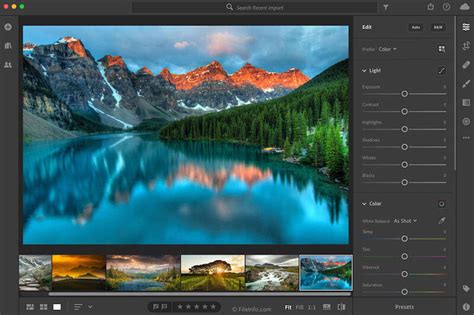
Before we dive into the five image editing tips, it's essential to understand the basics of image editing. Image editing involves using software or apps to manipulate and enhance digital images. The most common image editing tools include Adobe Photoshop, Lightroom, and Sketch, each offering a unique set of features and capabilities. To get started with image editing, you'll need to familiarize yourself with the basic tools and techniques, including selection, cropping, resizing, and adjusting brightness and contrast.
Key Image Editing Concepts
Some key concepts to understand when it comes to image editing include: * Resolution: The number of pixels in an image, which affects its clarity and quality. * Color mode: The way colors are represented in an image, including RGB, CMYK, and grayscale. * Layers: A way to organize and manipulate different elements of an image, allowing for non-destructive editing. * Masks: A technique used to selectively apply adjustments or effects to specific parts of an image.Tip 1: Adjusting Brightness and Contrast
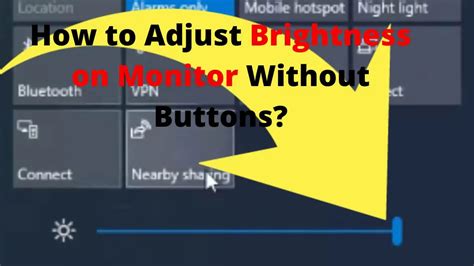
One of the most basic yet effective image editing techniques is adjusting brightness and contrast. Brightness refers to the overall lightness or darkness of an image, while contrast refers to the difference between light and dark areas. Adjusting these two parameters can greatly impact the mood, atmosphere, and overall look of an image. To adjust brightness and contrast, you can use the built-in tools in your image editing software or app. Simply move the sliders to increase or decrease brightness and contrast, and observe the effects on your image.
Best Practices for Adjusting Brightness and Contrast
Some best practices to keep in mind when adjusting brightness and contrast include: * Start with small adjustments and gradually increase or decrease the values. * Pay attention to the histogram, which shows the distribution of tonal values in an image. * Avoid over-adjusting, as this can lead to loss of detail or unnatural-looking results.Tip 2: Using Layers and Masks
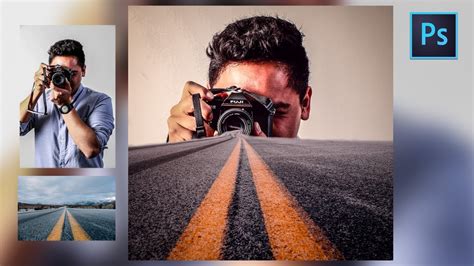
Layers and masks are two powerful tools in image editing that allow for non-destructive editing and selective adjustments. Layers enable you to organize and manipulate different elements of an image, such as text, shapes, and images, while masks allow you to apply adjustments or effects to specific parts of an image. To use layers and masks effectively, start by creating a new layer for each element you want to edit. Then, use the mask tool to select the areas you want to adjust, and apply the desired effects or adjustments.
Benefits of Using Layers and Masks
Some benefits of using layers and masks include: * Non-destructive editing, which allows you to make changes without altering the original image. * Selective adjustments, which enable you to target specific areas of an image. * Increased flexibility and creativity, as you can experiment with different combinations of layers and masks.Tip 3: Enhancing Colors and Saturation
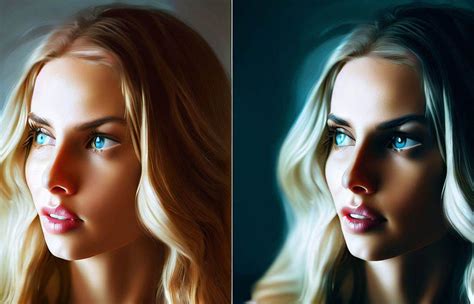
Colors and saturation play a crucial role in image editing, as they can greatly impact the mood, atmosphere, and overall look of an image. To enhance colors and saturation, you can use the color adjustment tools in your image editing software or app. Start by adjusting the hue, saturation, and brightness of individual colors, and then experiment with different color combinations and palettes. You can also use the saturation tool to increase or decrease the intensity of colors, and the vibrance tool to enhance the colors of skin tones and other organic subjects.
Color Enhancement Techniques
Some color enhancement techniques to try include: * Color grading, which involves applying a specific color palette or look to an image. * Color matching, which involves matching the colors of an image to a specific brand or style. * Color correction, which involves adjusting the colors of an image to accurate and natural-looking values.Tip 4: Removing Noise and Artifacts

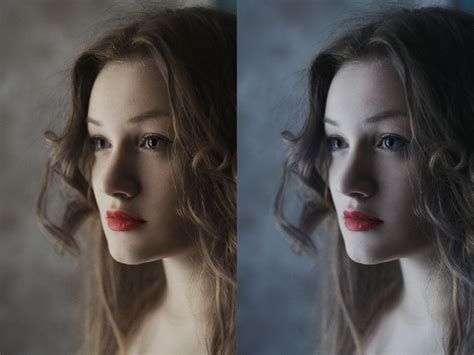
Noise and artifacts can greatly detract from the quality and impact of an image. To remove noise and artifacts, you can use the noise reduction tools in your image editing software or app. Start by selecting the area you want to clean up, and then apply the noise reduction filter. You can also use the clone stamp tool to remove specific artifacts or blemishes, and the healing brush tool to blend the repaired areas with the surrounding image.
Noise Reduction Techniques
Some noise reduction techniques to try include: * Using the noise reduction filter, which can help remove random noise and grain. * Applying a Gaussian blur, which can help smooth out noise and artifacts. * Using the clone stamp tool, which can help remove specific artifacts or blemishes.Tip 5: Saving and Exporting Images

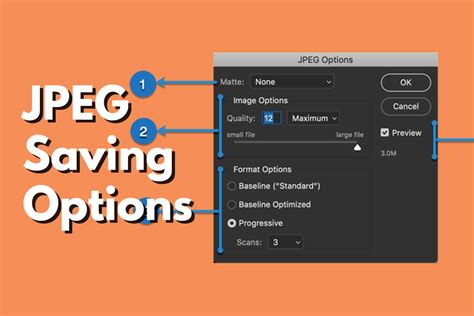
Once you've edited your image, it's essential to save and export it in the right format and resolution. The most common image formats include JPEG, PNG, and TIFF, each with its own strengths and weaknesses. JPEG is ideal for web use, as it offers a good balance between quality and file size. PNG is ideal for graphics and illustrations, as it offers transparent backgrounds and high-quality rendering. TIFF is ideal for print use, as it offers high-quality rendering and flexible editing capabilities.
Image Export Options
Some image export options to consider include: * Resolution, which affects the clarity and quality of an image. * Color mode, which affects the way colors are represented in an image. * Compression, which affects the file size and quality of an image.Image Editing Gallery


What is the best image editing software for beginners?
+Some of the best image editing software for beginners include Adobe Photoshop, Lightroom, and Sketch. These programs offer a user-friendly interface, intuitive tools, and a wide range of features and capabilities.
How do I remove noise and artifacts from an image?
+To remove noise and artifacts from an image, you can use the noise reduction tools in your image editing software or app. Start by selecting the area you want to clean up, and then apply the noise reduction filter. You can also use the clone stamp tool to remove specific artifacts or blemishes, and the healing brush tool to blend the repaired areas with the surrounding image.
What is the difference between JPEG, PNG, and TIFF image formats?
+JPEG, PNG, and TIFF are three common image formats, each with its own strengths and weaknesses. JPEG is ideal for web use, as it offers a good balance between quality and file size. PNG is ideal for graphics and illustrations, as it offers transparent backgrounds and high-quality rendering. TIFF is ideal for print use, as it offers high-quality rendering and flexible editing capabilities.
How do I enhance colors and saturation in an image?
+To enhance colors and saturation in an image, you can use the color adjustment tools in your image editing software or app. Start by adjusting the hue, saturation, and brightness of individual colors, and then experiment with different color combinations and palettes. You can also use the saturation tool to increase or decrease the intensity of colors, and the vibrance tool to enhance the colors of skin tones and other organic subjects.
What are some best practices for saving and exporting images?
+Some best practices for saving and exporting images include saving in the right format and resolution, using compression and optimization techniques, and experimenting with different export options. It's also essential to consider the intended use of the image, whether it's for web, print, or social media, and adjust the export settings accordingly.
In