
Intro
Configure your Netgear Nighthawk router with ease using our setup guide, featuring wireless networking, WiFi configuration, and network security tips for optimal performance and connectivity.
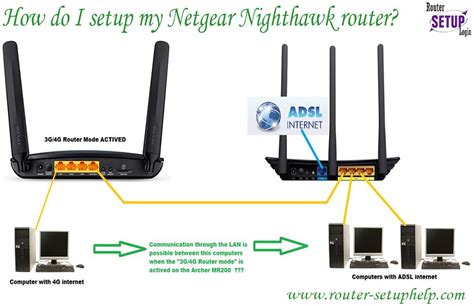
The Netgear Nighthawk router is a top-of-the-line networking device that offers exceptional performance, range, and features. Setting up this router can seem daunting, but with the right guidance, you can have it up and running in no time. In this article, we will walk you through the step-by-step process of setting up your Netgear Nighthawk router, exploring its features, and troubleshooting common issues.
The importance of a reliable router cannot be overstated, as it serves as the backbone of your home or office network. A good router ensures that all your devices are connected to the internet, and that you can enjoy seamless online experiences, whether you're streaming, gaming, or working. The Netgear Nighthawk router is designed to provide exceptional performance, with speeds of up to 7.2 Gbps and a range that can cover even the largest homes.
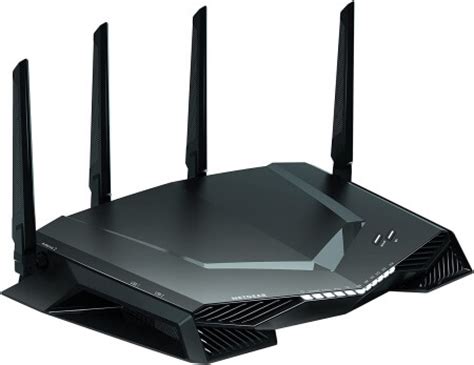
Before we dive into the setup process, let's take a look at the benefits of using a Netgear Nighthawk router. With its advanced features, such as Quality of Service (QoS) and beamforming, you can enjoy prioritized traffic, reduced congestion, and improved overall network performance. Additionally, the router's sleek design and compact size make it a great addition to any home or office decor.
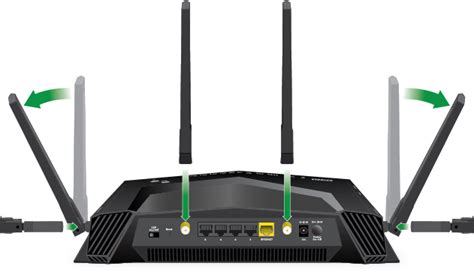
Netgear Nighthawk Router Unboxing and Physical Setup

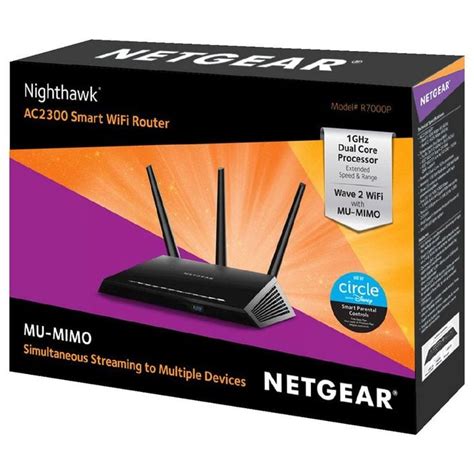
When you first unbox your Netgear Nighthawk router, you'll notice that it comes with a range of accessories, including a power cord, Ethernet cable, and quick start guide. The physical setup process is straightforward, and you can have the router up and running in a matter of minutes. Simply plug in the power cord, connect the Ethernet cable to your modem, and turn on the router.
Connecting to the Netgear Nighthawk Router
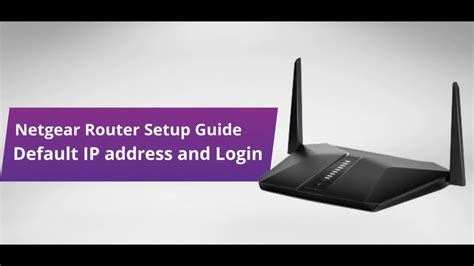
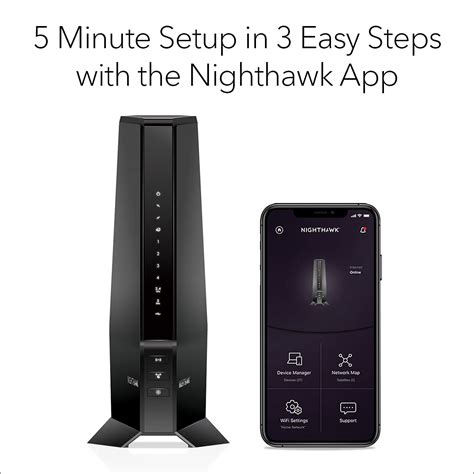
To connect to the Netgear Nighthawk router, you'll need to use a computer or mobile device. Open a web browser and navigate to the router's default IP address, which is usually http://www.routerlogin.net or http://www.routerlogin.com. You can also use the Nighthawk app, which is available for both iOS and Android devices.
Once you've connected to the router, you'll be prompted to log in using the default admin username and password, which can be found on the underside of the router or in the quick start guide. It's highly recommended that you change the default login credentials to ensure the security of your network.
Changing the Admin Username and Password
To change the admin username and password, follow these steps:
- Log in to the router using the default credentials
- Navigate to the Advanced tab
- Click on Administration
- Enter the new admin username and password
- Click Apply to save the changes
Configuring the Netgear Nighthawk Router

Configuring the Netgear Nighthawk router is a straightforward process that can be completed using the web interface or the Nighthawk app. Here are the general steps to follow:
- Set up the wireless network name (SSID) and password
- Configure the wireless channel and mode
- Set up the Quality of Service (QoS) settings
- Configure the parental controls and guest network
Setting up the Wireless Network
To set up the wireless network, follow these steps:
- Log in to the router using the admin credentials
- Navigate to the Wireless tab
- Enter the wireless network name (SSID) and password
- Click Apply to save the changes
Troubleshooting Common Issues

Despite its advanced features and robust design, the Netgear Nighthawk router can still experience issues from time to time. Here are some common problems and their solutions:
- No internet connection: Check the physical connections, restart the router, and contact your internet service provider
- Weak wireless signal: Move the router to a central location, update the firmware, and reduce interference from other devices
- Slow speeds: Check the QoS settings, update the firmware, and reduce the number of devices connected to the network
Updating the Firmware
To update the firmware, follow these steps:
- Log in to the router using the admin credentials
- Navigate to the Advanced tab
- Click on Administration
- Click on Firmware Update
- Follow the on-screen instructions to complete the update
Advanced Features and Settings
The Netgear Nighthawk router offers a range of advanced features and settings that can be used to customize and optimize your network. Here are some of the most notable features:
- Quality of Service (QoS): Prioritizes traffic and reduces congestion
- Beamforming: Improves wireless signal strength and range
- Parental controls: Blocks access to certain websites and sets time limits
- Guest network: Creates a separate network for guests and visitors
Setting up the Guest Network
To set up the guest network, follow these steps:
- Log in to the router using the admin credentials
- Navigate to the Wireless tab
- Click on Guest Network
- Enter the guest network name and password
- Click Apply to save the changes
Security and Maintenance

Maintaining the security and integrity of your network is crucial, and the Netgear Nighthawk router offers a range of features to help you do so. Here are some tips and best practices:
- Change the default admin username and password
- Enable WPA2 encryption
- Set up a firewall
- Regularly update the firmware
Enabling WPA2 Encryption
To enable WPA2 encryption, follow these steps:
- Log in to the router using the admin credentials
- Navigate to the Wireless tab
- Click on Security
- Select WPA2 encryption
- Click Apply to save the changes
Netgear Nighthawk Router Image Gallery


What is the default admin username and password for the Netgear Nighthawk router?
+The default admin username and password for the Netgear Nighthawk router can be found on the underside of the router or in the quick start guide.
How do I change the wireless network name and password on the Netgear Nighthawk router?
+To change the wireless network name and password, log in to the router using the admin credentials, navigate to the Wireless tab, and enter the new network name and password.
What is the range of the Netgear Nighthawk router?
+The range of the Netgear Nighthawk router can vary depending on the model and environment, but it can cover up to 5,000 square feet.
How do I update the firmware on the Netgear Nighthawk router?
+To update the firmware, log in to the router using the admin credentials, navigate to the Advanced tab, and click on Firmware Update.
What is the warranty period for the Netgear Nighthawk router?
+The warranty period for the Netgear Nighthawk router can vary depending on the model and region, but it is typically 1-2 years.
In summary, setting up and configuring the Netgear Nighthawk router is a straightforward process that can be completed using the web interface or the Nighthawk app. With its advanced features and robust design, this router is ideal for homes and offices that require a reliable and high-performance network. By following the steps outlined in this guide, you can ensure that your Netgear Nighthawk router is set up and running smoothly, providing you with a seamless online experience. We hope this article has been helpful in guiding you through the setup process, and we encourage you to share your experiences and ask any questions you may have in the comments below.