
Intro
Configure your Netgear Nighthawk router with ease using our setup guide, featuring wireless networking, WiFi configuration, and network security tips for optimal performance and connectivity.
The world of wireless networking has become an essential part of our daily lives, and routers are the backbone of this technology. Among the various brands available, Netgear has established itself as a leader in the market, offering a wide range of routers that cater to different needs and budgets. The Netgear Nighthawk series, in particular, has gained popularity for its exceptional performance, reliability, and ease of use. In this article, we will delve into the Netgear Nighthawk router setup guide, exploring the steps and tips to get the most out of your device.
Setting up a router can seem like a daunting task, especially for those who are not tech-savvy. However, with the right guidance, you can easily configure your Netgear Nighthawk router and enjoy a seamless wireless experience. The Nighthawk series offers a range of models, each with its unique features and capabilities. From the entry-level AC1900 to the high-end AX6000, there is a Nighthawk router that suits every need and budget. Whether you are a gamer, a streamer, or simply a homeowner looking for a reliable wireless connection, the Netgear Nighthawk series has got you covered.
The importance of a well-configured router cannot be overstated. A properly set up router ensures that your wireless network is secure, fast, and reliable. It also enables you to take advantage of the advanced features that come with your Nighthawk router, such as parental controls, guest networking, and Quality of Service (QoS) settings. In the following sections, we will explore the Netgear Nighthawk router setup guide in detail, covering the basic and advanced settings, troubleshooting tips, and best practices for optimizing your wireless network.
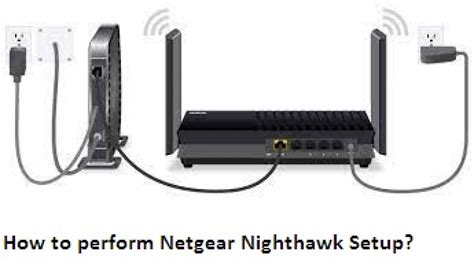
Unboxing and Physical Setup
Logging In and Changing Admin Credentials
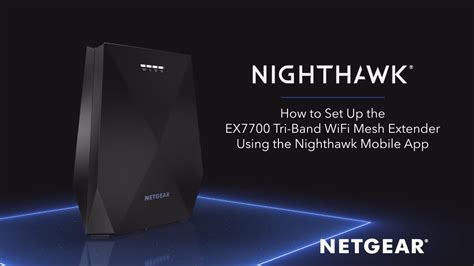
Setting Up Wireless Networks
Configuring Advanced Settings
Troubleshooting Tips and Best Practices
Optimizing Your Wireless Network

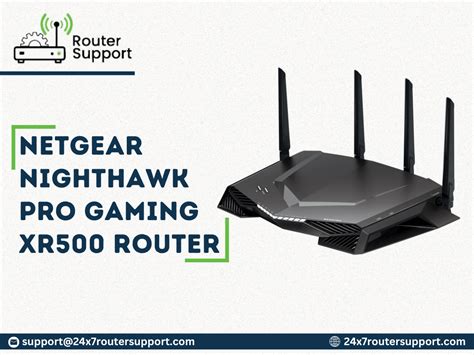
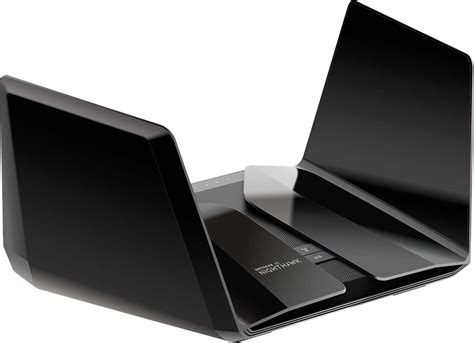
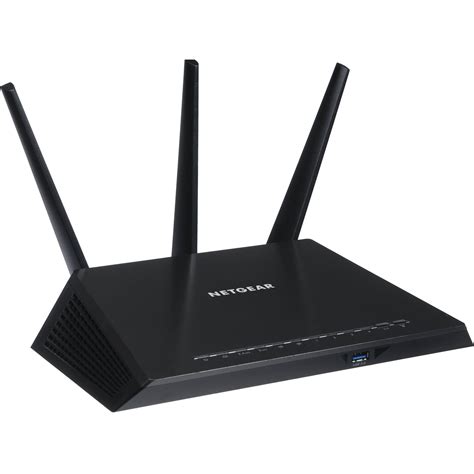
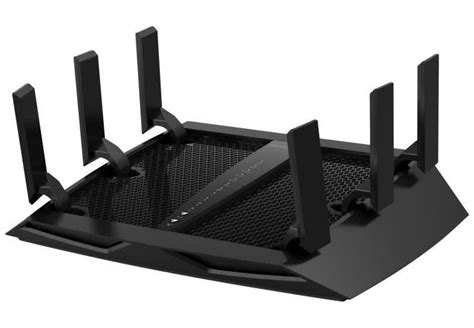
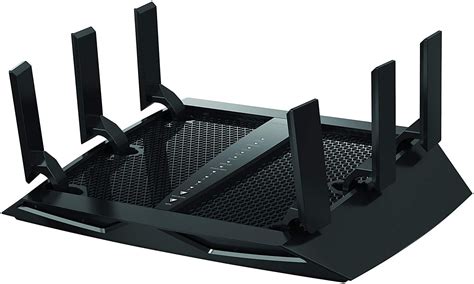
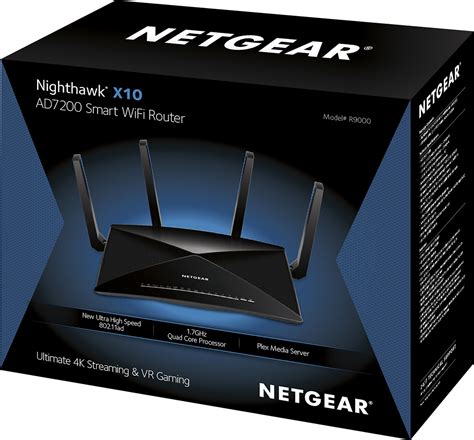
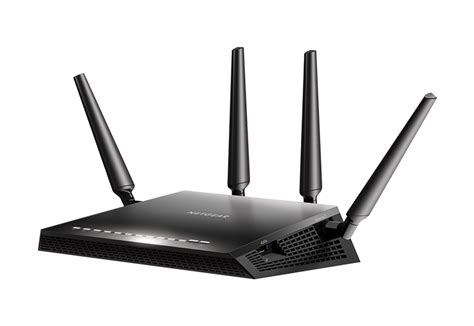
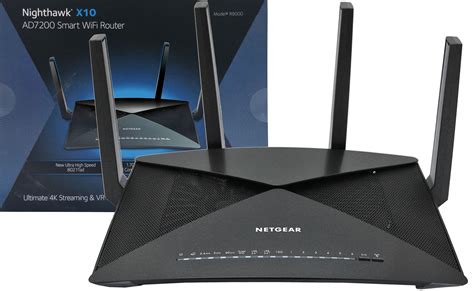
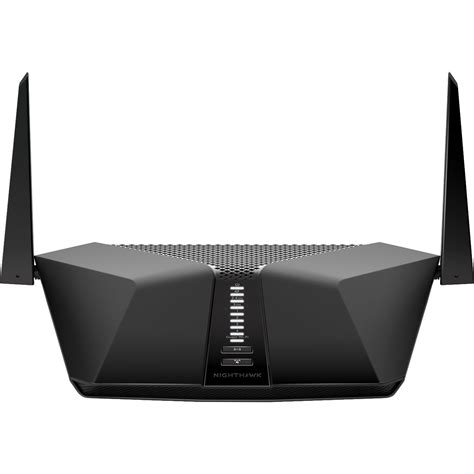
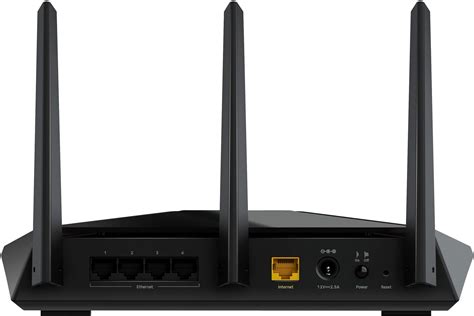
Gallery of Netgear Nighthawk Routers
Netgear Nighthawk Router Gallery

Frequently Asked Questions
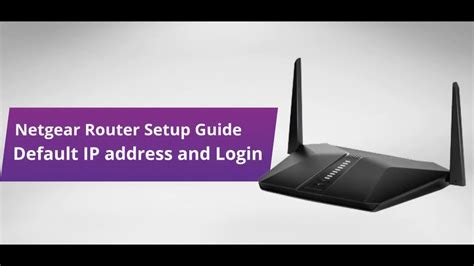
What is the default IP address of the Netgear Nighthawk router?
+The default IP address of the Netgear Nighthawk router is usually http://192.168.0.1 or http://192.168.1.1.
How do I reset my Netgear Nighthawk router to its factory settings?
+To reset your Netgear Nighthawk router to its factory settings, press and hold the reset button for 10 seconds.
Can I use the Netgear Nighthawk router with my existing modem?
+Yes, the Netgear Nighthawk router is compatible with most modems. However, it is recommended to check the compatibility of your modem with the router before purchasing.
How do I update the firmware of my Netgear Nighthawk router?
+To update the firmware of your Netgear Nighthawk router, go to the router's web interface and click on the Firmware Update button. Follow the on-screen instructions to complete the update process.
Can I use the Netgear Nighthawk router with my wireless devices?
+Yes, the Netgear Nighthawk router is compatible with most wireless devices, including laptops, smartphones, and tablets.
In conclusion, setting up a Netgear Nighthawk router is a straightforward process that requires some basic knowledge of networking concepts. By following the steps outlined in this guide, you can easily configure your router and enjoy a fast, reliable, and secure wireless connection. Remember to regularly update your router's firmware, use strong and unique passwords, and monitor your network's performance to optimize your wireless experience. If you have any questions or need further assistance, feel free to comment below or contact our support team. Share this article with your friends and family to help them set up their Netgear Nighthawk routers and enjoy the benefits of a seamless wireless connection.