
Intro
Boost stencil art with 5 expert tips, mastering stencil techniques, and designs using stencil materials and tools for perfect stencil cuts and applications.
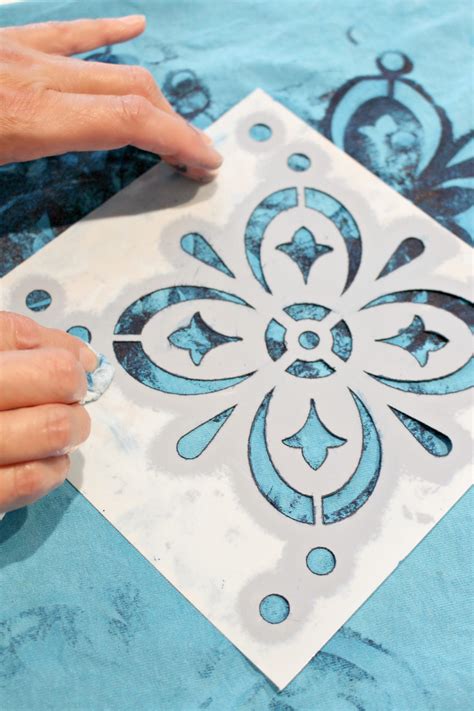
The world of stenciling is a vast and creative one, offering a multitude of possibilities for artists, crafters, and DIY enthusiasts. Whether you're looking to add a personal touch to your home decor, create unique gifts, or simply express yourself through art, stenciling can be a fun and rewarding medium. At the heart of this creative process are stencils themselves, and understanding how to use them effectively can elevate your projects from simple to stunning. Here are some insights into the importance of stenciling and tips on how to get the most out of your stencil adventures.
Stenciling has been around for centuries, with evidence of its use found in ancient civilizations. It's a technique that involves applying paint or another medium through a template with cut-out designs to create an image or pattern on a surface. The beauty of stenciling lies in its accessibility and versatility; it can be used on virtually any material, from paper and fabric to wood and walls. This versatility, combined with the precision it offers, makes stenciling a favorite among both beginners and seasoned artists.
For those just starting out, the initial investment can be as low as $5, making it an extremely accessible hobby. With a basic set of stencils and some paint, you can begin exploring the world of stenciling. As you delve deeper, you'll find that the possibilities are endless, from creating intricate designs on furniture to making personalized cards and gifts. The key to mastering stenciling, however, lies in understanding the techniques and tips that can help you achieve professional-looking results.
Introduction to Stenciling
To get started with stenciling, it's essential to understand the basics. This includes choosing the right stencils, preparing your surface, and selecting the appropriate paint or medium. For beginners, it's advisable to start with simple designs and gradually move on to more complex patterns. Practice is key, and don't be discouraged if your initial attempts don't turn out as expected. With time and patience, you'll develop the skills and confidence to tackle more intricate projects.
Choosing the Right Stencils
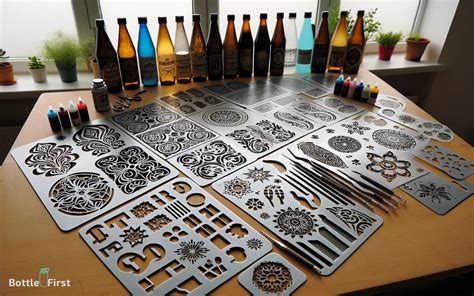
Choosing the right stencil is crucial for the success of your project. Stencils come in a variety of materials, including plastic, metal, and mylar. Each has its own advantages and disadvantages. For instance, plastic stencils are inexpensive and great for one-time use, while mylar stencils are more durable and can be used multiple times. The design and size of the stencil are also important considerations. Ensure that the stencil you choose fits your project's requirements and that the design resonates with your artistic vision.
Benefits of Custom Stencils
Custom stencils offer the ultimate in flexibility and personalization. With custom stencils, you can create designs that are truly unique and tailored to your specific needs. This can be particularly useful for branding purposes or for creating one-of-a-kind art pieces. While custom stencils may require a higher initial investment, they can provide long-term benefits in terms of versatility and the ability to produce consistent, high-quality results.
Working with Different Surfaces
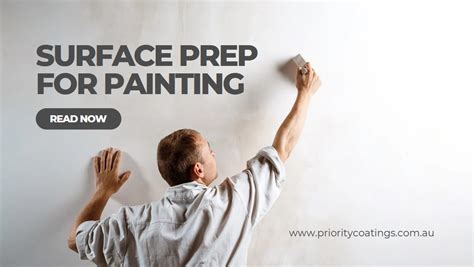
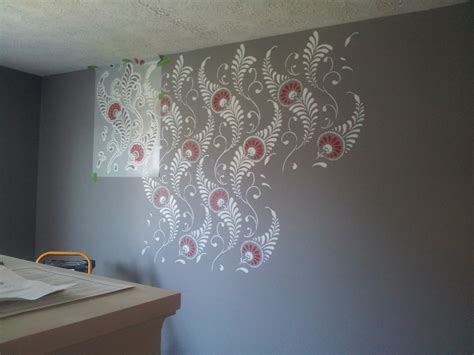
One of the joys of stenciling is its adaptability to various surfaces. From the smoothness of paper to the texture of wood, each surface presents its own set of challenges and opportunities. Understanding how to prepare and work with different surfaces is essential for achieving the desired outcome. This includes cleaning the surface, applying the right primer (if necessary), and choosing the appropriate paint or medium. For instance, when working with fabric, you might need to use fabric paint and follow specific application instructions to ensure durability and colorfastness.
Tips for Stenciling on Unconventional Surfaces
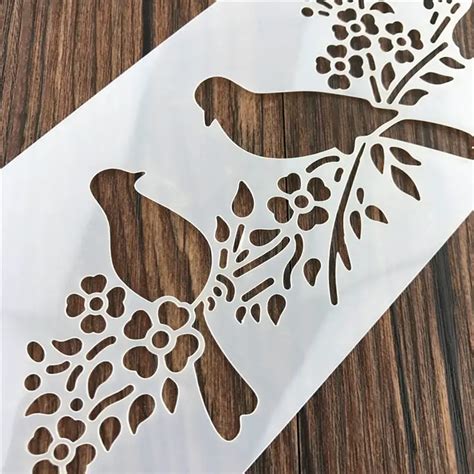
Stenciling isn't limited to traditional surfaces like paper and walls. With the right techniques and materials, you can stencil on almost anything, from furniture to fabric, and even metal or glass. When working with unconventional surfaces, it's crucial to experiment and find the right combination of stencil, paint, and application method. This might involve using specialized paints designed for the specific material you're working with or adjusting your technique to accommodate the surface's texture and properties.
Advanced Stenciling Techniques

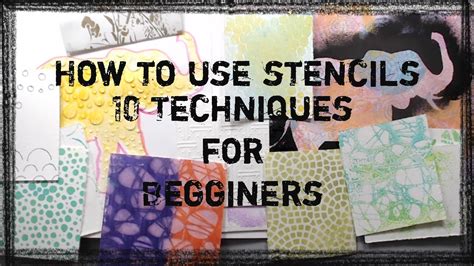
As you become more comfortable with the basics of stenciling, you can start exploring advanced techniques to take your projects to the next level. This includes layering stencils to create complex designs, using different materials for unique textures, and experimenting with various application methods such as spraying or sponging. Advanced techniques also involve understanding color theory and how to use colors effectively to create contrast, harmony, and depth in your designs.
Layering and Blending
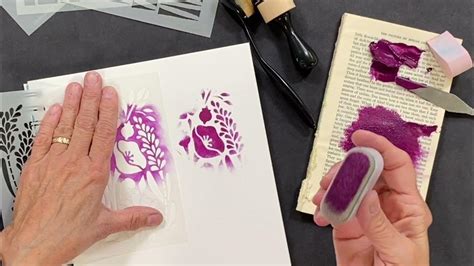
Layering and blending are two advanced techniques that can add depth and dimension to your stenciled designs. Layering involves applying multiple stencils on top of each other, while blending refers to the process of merging colors together to create smooth transitions. These techniques require patience and practice but can result in stunning, professional-looking outcomes. When layering, it's essential to allow each layer to dry completely before applying the next to prevent smudging and ensure crisp, clean lines.
Common Mistakes and How to Avoid Them

Like any craft, stenciling comes with its set of common mistakes that can hinder your progress and discourage you from continuing. These mistakes include using the wrong type of paint, not preparing the surface properly, and applying too much paint, which can lead to bleeding under the stencil. To avoid these mistakes, it's crucial to follow instructions carefully, practice on scrap material before working on your final project, and be patient, allowing each step of the process to complete as directed.
Troubleshooting Tips
Troubleshooting is an essential part of the stenciling process. If you encounter issues such as paint bleeding, stencils not adhering properly, or designs not turning out as expected, don't panic. There are usually simple solutions to these problems. For instance, if paint is bleeding under the stencil, you might need to use a higher quality stencil or apply a sealant to the edges of the stencil. Keeping a troubleshooting guide handy can save you time and frustration, helping you to quickly identify and fix problems as they arise.
Stenciling for Beginners
For those new to stenciling, the first step is often the hardest. It can be overwhelming to decide where to start, especially with the vast array of stencils, paints, and surfaces available. The key is to keep it simple. Start with basic stencils and simple projects, and gradually build up your skills and confidence. Don't be afraid to experiment and try new things – it's all part of the learning process. Remember, the goal is to have fun and enjoy the creative journey.
Setting Up Your Workspace
Setting up your workspace is crucial for a successful and enjoyable stenciling experience. This includes having all your materials within easy reach, protecting your work surface, and ensuring good lighting. A well-organized workspace can help reduce stress and make the process more efficient, allowing you to focus on the creative aspects of your project. Consider investing in a craft mat or a dedicated stenciling workspace to keep your area clean and organized.
Stenciling Image Gallery

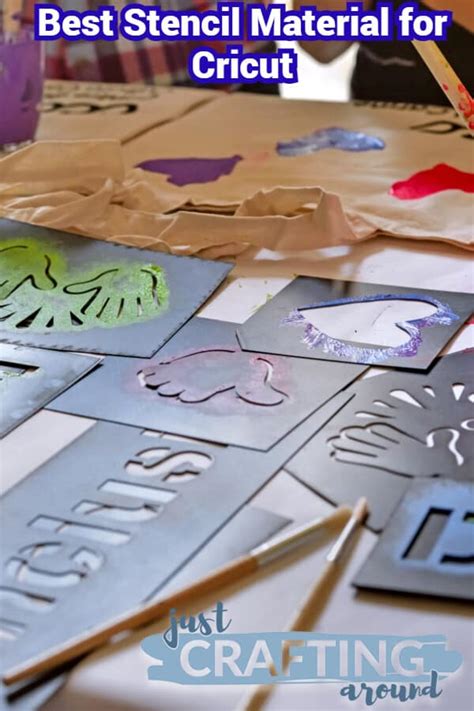

What is the best material for stencils?
+The best material for stencils depends on the project and personal preference. Mylar stencils are durable and reusable, making them a popular choice for frequent use. Plastic stencils are inexpensive and great for one-time projects.
How do I prevent paint from bleeding under the stencil?
+To prevent paint from bleeding, use a high-quality stencil with a smooth edge, apply a thin, even layer of paint, and consider using a stencil adhesive or spray to secure the stencil to the surface.
Can I use any type of paint for stenciling?
+No, not all paints are suitable for stenciling. The choice of paint depends on the surface you're working on. For example, use fabric paint for stenciling on fabric, and acrylic or spray paint for stenciling on walls or wood.
As you embark on your stenciling journey, remember that practice and patience are key. Don't be discouraged by initial setbacks or mistakes – they are an integral part of the learning process. With time, you'll develop the skills and confidence to create stunning, professional-looking pieces that reflect your unique style and creativity. Whether you're a seasoned artist or a beginner looking for a new hobby, stenciling offers a world of creative possibilities waiting to be explored. So, gather your materials, get inspired, and start creating. Share your stenciling adventures with us, and don't hesitate to reach out if you have any questions or need further guidance. Happy stenciling!