
Intro
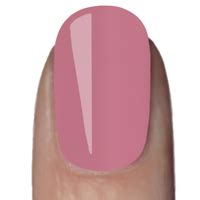
Master nail art with 5 essential stencil tips, featuring precise nail stamping, intricate designs, and easy cleanup, for a salon-quality manicure at home.
Nail art has become a popular way to express oneself and add a personal touch to one's style. With the rise of social media, it's easier than ever to get inspiration and ideas for unique nail designs. One of the most popular tools used in nail art is nail stencils. Nail stencils are thin, adhesive strips that can be applied to the nail to create intricate designs and patterns. In this article, we will explore 5 nail stencil tips to help you achieve salon-quality nail art at home.
The use of nail stencils has revolutionized the way we approach nail art. Gone are the days of freehand painting and messy cleanups. With nail stencils, you can create intricate designs and patterns with ease and precision. Whether you're a beginner or a seasoned nail artist, nail stencils are a must-have tool in your nail art kit. In the following sections, we will delve into the world of nail stencils and provide you with tips and tricks to get the most out of them.
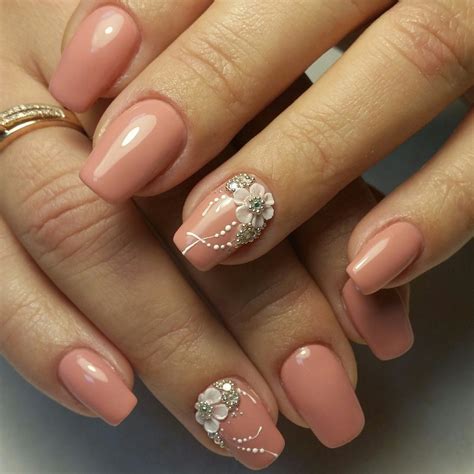
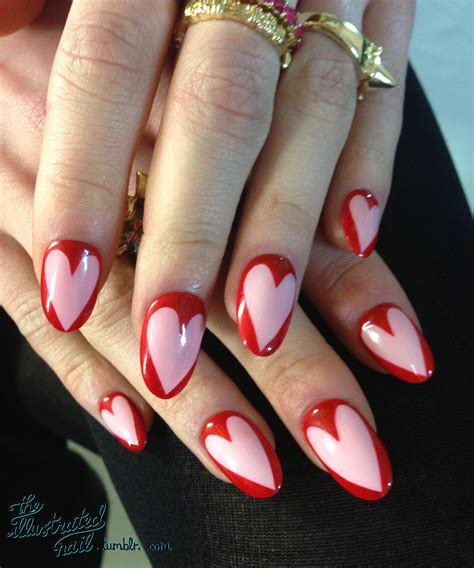
Nail art is not just about applying nail polish to your nails; it's about creating a work of art that reflects your personality and style. With the right tools and techniques, you can create stunning nail designs that will make you stand out from the crowd. Nail stencils are an essential part of nail art, and with the right tips and techniques, you can unlock a world of creative possibilities. So, let's dive in and explore the 5 nail stencil tips that will take your nail art to the next level.
Understanding Nail Stencils
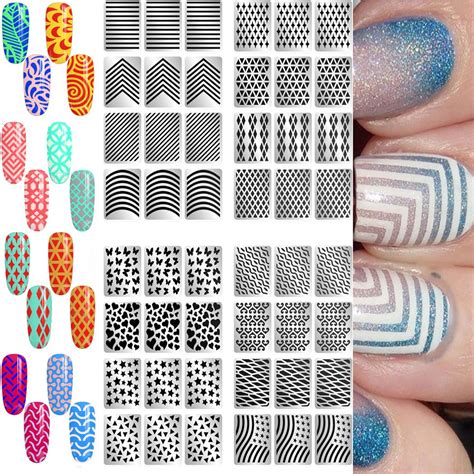
Types of Nail Stencils
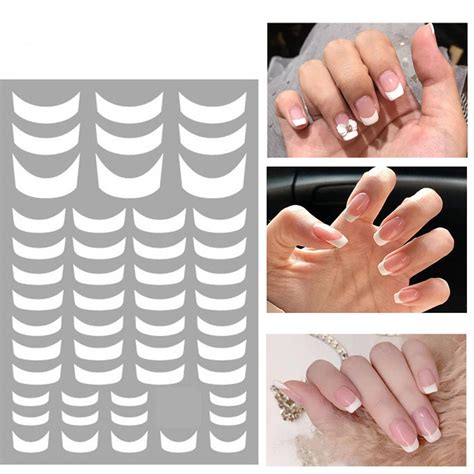
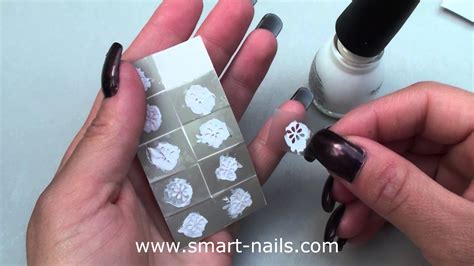
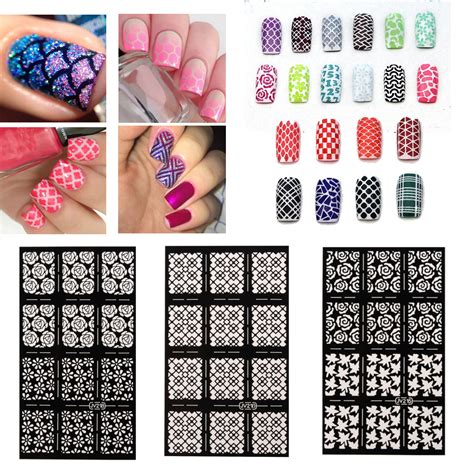
There are several types of nail stencils available, each with its own unique characteristics and uses. Some of the most common types of nail stencils include: * Striping tape: This type of stencil is used to create straight lines and stripes on the nail. * Nail guides: These stencils are used to create intricate designs and patterns on the nail. * Sticker stencils: These stencils are individual stickers that can be applied to the nail to create unique designs and patterns. * Full-nail stencils: These stencils cover the entire nail and can be used to create complex designs and patterns.Tip 1: Choose the Right Nail Stencil
Factors to Consider
When choosing a nail stencil, there are several factors to consider, including: * The size and shape of the nail * The type of nail polish being used * The design being created * The level of difficulty of the designTip 2: Prepare Your Nails
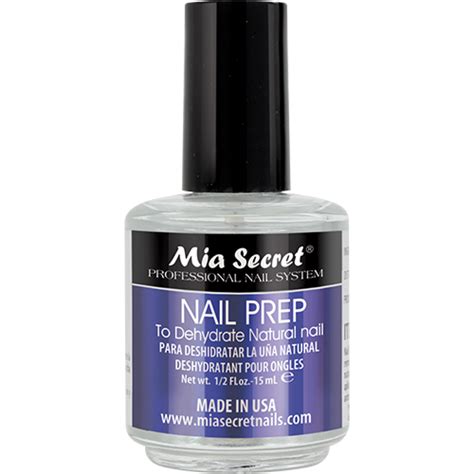
Importance of Nail Prep
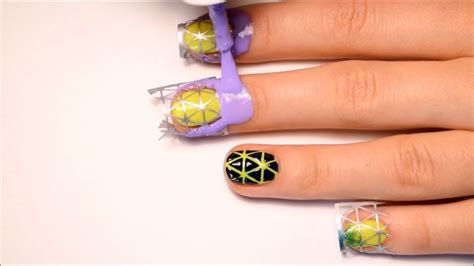
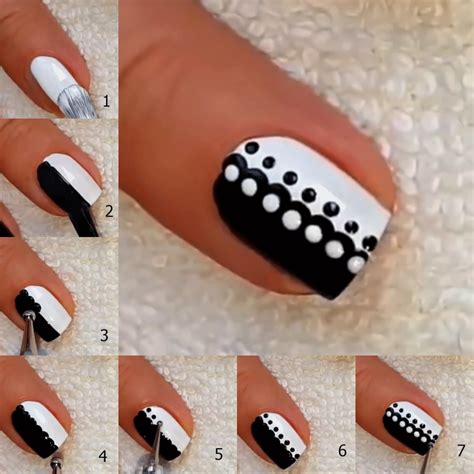
Preparing your nails before applying a nail stencil is crucial for several reasons, including: * It helps the stencil adhere properly to the nail * It prevents air bubbles from forming * It helps to create a smooth, even surface for the nail polish to adhere toTip 3: Apply the Nail Stencil Correctly
Common Mistakes to Avoid
When applying a nail stencil, there are several common mistakes to avoid, including: * Applying the stencil too tightly, which can cause it to stretch or distort * Applying the stencil too loosely, which can cause it to lift off the nail * Not smoothing out air bubbles, which can cause the design to appear uneven or bumpyTip 4: Use the Right Nail Polish
Factors to Consider
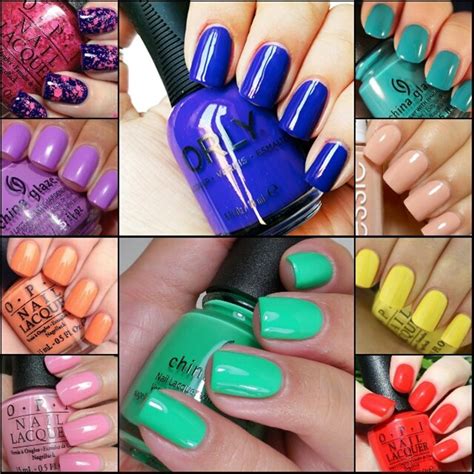
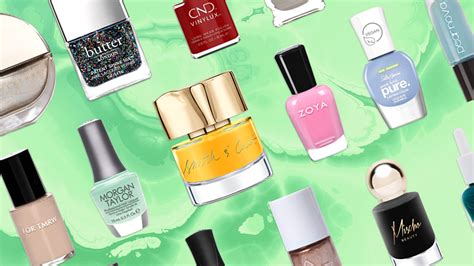
When choosing a nail polish, there are several factors to consider, including: * The color of the polish * The consistency of the polish * The finish of the polish (e.g. glossy, matte, etc.)Tip 5: Remove the Stencil Carefully
Common Mistakes to Avoid
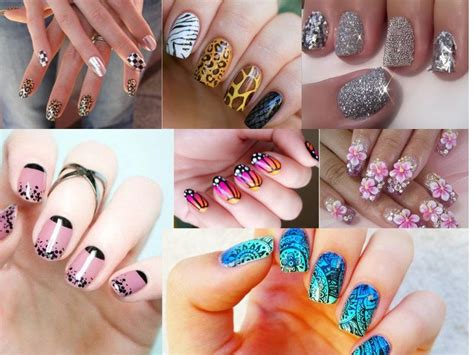
When removing a nail stencil, there are several common mistakes to avoid, including: * Pulling or tugging on the stencil, which can cause the design to smudge or smear * Not making sure the nail polish is fully dry, which can cause the design to smudge or smear * Not gently peeling off the stencil, which can cause the design to lift off the nailNail Art Image Gallery


What are nail stencils and how do they work?
+Nail stencils are thin, adhesive strips that can be applied to the nail to create intricate designs and patterns. They work by allowing you to paint over the stencil with nail polish, creating a crisp and clean design.
How do I choose the right nail stencil for my design?
+When choosing a nail stencil, consider the design you want to create and the type of nail polish you will be using. Choose a stencil that is the right size and shape for your nail, and that has the design you want to create.
How do I apply a nail stencil correctly?
+To apply a nail stencil correctly, start by cleaning and shaping your nail. Then, apply a base coat to protect your nail. Next, apply the stencil to the center of your nail, smoothing out any air bubbles that may form. Finally, paint over the stencil with nail polish and remove the stencil carefully.
What are some common mistakes to avoid when using nail stencils?
+Some common mistakes to avoid when using nail stencils include applying the stencil too tightly or too loosely, not smoothing out air bubbles, and not making sure the nail polish is fully dry before removing the stencil.
How do I remove a nail stencil carefully?
+To remove a nail stencil carefully, start by making sure the nail polish is fully dry. Then, gently peel off the stencil, avoiding any pulling or tugging. If the stencil is stubborn, you can use a nail polish remover to help loosen it.
We hope you found these 5 nail stencil tips helpful in creating stunning nail art designs. With practice and patience, you can master the art of using nail stencils and create beautiful, unique designs that will make you stand out from the crowd. Remember to always choose the right nail stencil for your design, prepare your nails before applying the stencil, apply the stencil correctly, use the right nail polish, and remove the stencil carefully. Happy nail art-ing! Don't forget to share your favorite nail art designs with us and let us know if you have any other questions or topics you'd like to discuss.