
Intro
Master Talavera stencil techniques with 5 expert tips, featuring ceramic painting, Mexican art, and pottery design methods for stunning results.
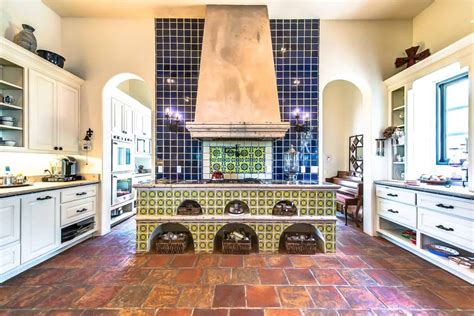
The art of Talavera pottery has been a cornerstone of Mexican culture for centuries, with its intricate designs and vibrant colors captivating the hearts of many. One of the most effective ways to achieve these stunning designs is through the use of stencils. Stenciling allows artists to create uniform and precise patterns, making it an essential tool for anyone looking to create their own Talavera-inspired pieces. In this article, we will delve into the world of Talavera stenciling, providing you with valuable tips and insights to help you master this ancient craft.
Talavera pottery has a rich history, dating back to the 16th century when Spanish artisans introduced their techniques to Mexico. Over time, Mexican artists adapted these techniques, incorporating their own unique styles and motifs, resulting in the distinctive Talavera look we know and love today. The use of stencils has played a significant role in the development of Talavera pottery, enabling artists to mass-produce intricate designs with ease. Whether you're a seasoned artist or a beginner, stenciling is an excellent way to add a touch of Talavera magic to your work.
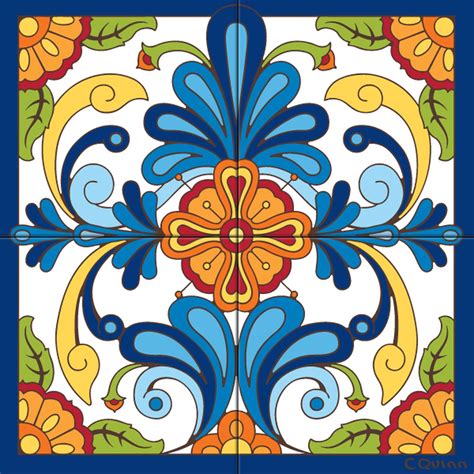
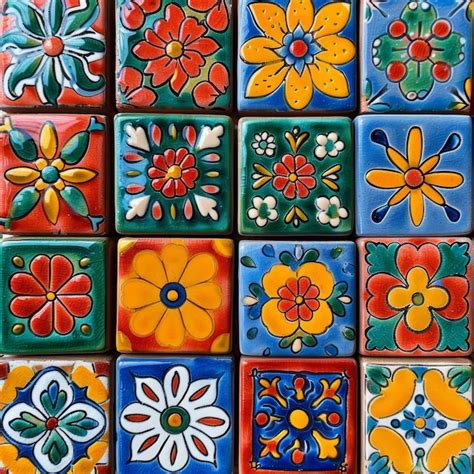
The beauty of Talavera stenciling lies in its versatility. With the right techniques and materials, you can create an array of stunning designs, from delicate florals to bold geometric patterns. Stencils can be used on a variety of surfaces, including ceramics, wood, and even fabric, making it an excellent technique for crafters and artists alike. As you embark on your Talavera stenciling journey, remember that practice makes perfect. Don't be discouraged if your early attempts don't yield the desired results – with patience and persistence, you'll soon be creating breathtaking Talavera-inspired pieces that rival those of the masters.
Understanding Talavera Stencils

Types of Talavera Stencils
There are several types of Talavera stencils available, each with its own unique characteristics and uses. Some common types of stencils include: * Pre-cut stencils: These are ready-made stencils that feature pre-designed patterns and motifs. * Custom stencils: These are made-to-order stencils that can be tailored to your specific needs and design preferences. * Stencil sheets: These are large sheets of material that feature multiple designs and patterns, allowing you to cut out individual stencils as needed. When selecting a stencil, consider the size and complexity of the design, as well as the surface you'll be working with. For example, if you're decorating a large ceramic piece, you may want to opt for a larger stencil or use multiple smaller stencils to achieve the desired effect.Preparing Your Surface
Tips for Preparing Your Surface
Here are a few tips to keep in mind when preparing your surface: * Make sure the surface is completely dry and free of dust or debris. * Use a gentle cleaner and avoid harsh chemicals, which can damage the surface or affect paint adhesion. * Apply a primer or base coat according to the manufacturer's instructions, allowing it to dry completely before stenciling. * If using a stencil on a curved or irregular surface, consider using a flexible stencil or applying multiple smaller stencils to achieve the desired effect.Applying Paint or Ink
Techniques for Applying Paint or Ink
Here are a few techniques to keep in mind when applying paint or ink: * Use a light touch when applying paint or ink, as excess material can bleed under the stencil and create uneven edges. * Experiment with different brushstrokes or techniques, such as stippling or hatching, to achieve unique textures and effects. * Consider using a spray adhesive or stencil adhesive to secure the stencil in place, especially when working with intricate designs or curved surfaces.Removing the Stencil
Tips for Removing the Stencil
Here are a few tips to keep in mind when removing the stencil: * Use a gentle touch when removing the stencil, as rough handling can damage the surface or distort the design. * If the stencil is stuck to the surface, try using a small amount of adhesive remover or solvent to loosen it. * Avoid touching the design or handling the surface excessively, as oils from your skin can affect the paint or ink and cause it to fade or discolor over time.Sealing and Protecting Your Design
Techniques for Sealing and Protecting
Here are a few techniques to keep in mind when sealing and protecting your design: * Use a high-quality sealant or varnish that is specifically designed for the surface you're working with. * Apply the sealant according to the manufacturer's instructions, taking care to avoid excess material or uneven coverage. * Consider using a UV-resistant sealant or varnish to protect the design from fading or discoloration caused by exposure to sunlight.Gallery of Talavera Stencil Designs
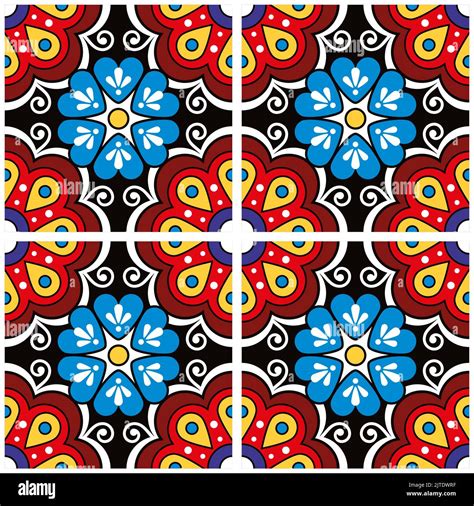
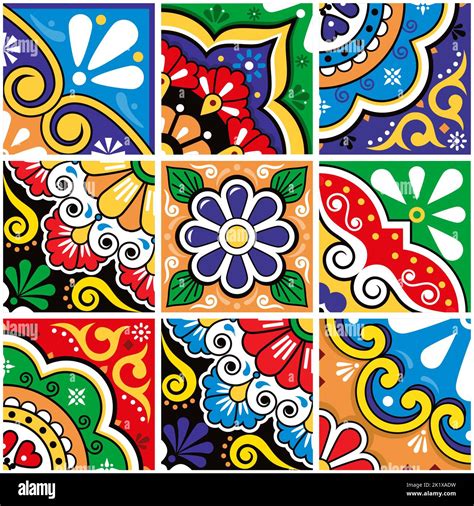
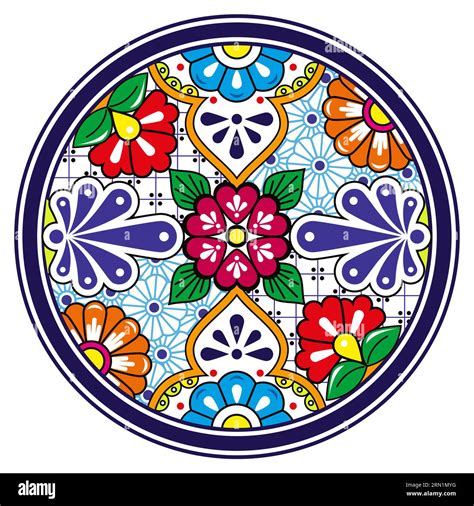
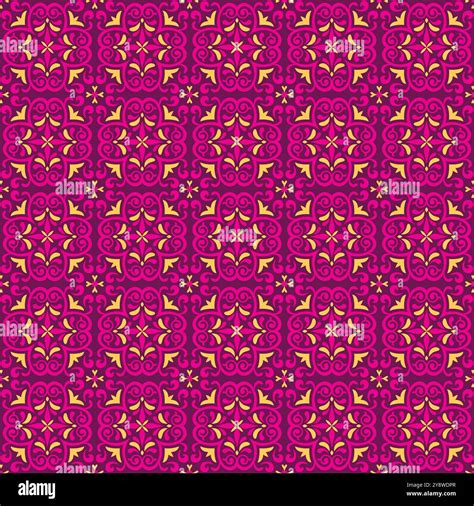
Talavera Stencil Image Gallery


Frequently Asked Questions
What is Talavera stenciling?
+Talavera stenciling is a technique used to create intricate designs and patterns on various surfaces, including ceramics, wood, and fabric, using stencils and paint or ink.
What types of stencils are available for Talavera stenciling?
+There are several types of stencils available, including pre-cut stencils, custom stencils, and stencil sheets, each with its own unique characteristics and uses.
How do I prepare my surface for Talavera stenciling?
+To prepare your surface, clean and dry the area to be decorated, and apply a primer or base coat if necessary. Make sure the surface is completely dry and free of dust or debris before stenciling.
What techniques can I use to apply paint or ink through a stencil?
+There are several techniques you can use to apply paint or ink through a stencil, including brushing, sponging, and spraying. Experiment with different techniques to achieve unique textures and effects.
How do I seal and protect my Talavera stenciled design?
+To seal and protect your design, use a clear coat of varnish or sealant that is specifically designed for the surface you're working with. Apply the sealant according to the manufacturer's instructions, taking care to avoid excess material or uneven coverage.
As you continue on your Talavera stenciling journey, remember to experiment, take risks, and have fun. With practice and patience, you'll soon be creating stunning Talavera-inspired pieces that showcase your unique style and creativity. Don't be afraid to share your work, ask for feedback, and learn from others – the world of Talavera stenciling is full of talented artists and enthusiasts who are eager to connect and share their passion. So why not get started today, and see where the art of Talavera stenciling takes you? Share your experiences, tips, and favorite designs with us, and let's keep the conversation going!