
Intro
Learn Netgear router setup with our step-by-step guide, covering login, configuration, and troubleshooting for wireless networking, WiFi connectivity, and internet security.
Setting up a Netgear router can seem like a daunting task, especially for those who are not tech-savvy. However, with the right guidance, it can be a straightforward process. In this article, we will walk you through the steps to set up your Netgear router, ensuring that you have a stable and secure internet connection. Whether you are setting up a new router or replacing an old one, this guide will provide you with the necessary information to get started.
The importance of setting up your router correctly cannot be overstated. A properly configured router can provide you with a fast and reliable internet connection, while also protecting your network from potential security threats. With the increasing number of devices connected to the internet, it is essential to have a router that can handle the demand. Netgear routers are known for their high-quality performance and ease of use, making them a popular choice among consumers.
Before we dive into the setup process, it is essential to understand the benefits of using a Netgear router. Some of the key advantages include improved network security, increased Wi-Fi range, and faster internet speeds. Additionally, Netgear routers are compatible with a wide range of devices, making it easy to connect all your devices to the internet. With a Netgear router, you can enjoy a seamless online experience, whether you are streaming videos, playing games, or browsing the web.
Pre-Setup Requirements
Before you start setting up your Netgear router, there are a few requirements that you need to meet. First, you will need to have a Netgear router, which can be purchased from a retail store or online. You will also need a computer or mobile device with an internet connection, as well as a web browser such as Google Chrome or Mozilla Firefox. Additionally, you will need to have your internet service provider's (ISP) information, including your username and password.
It is also essential to have a basic understanding of networking concepts, such as IP addresses and subnet masks. However, don't worry if you are not familiar with these terms, as we will explain them in more detail later in this article. The most important thing is to have a willingness to learn and follow the setup process carefully.
Step-by-Step Setup Guide

Now that we have covered the pre-setup requirements, let's move on to the step-by-step setup guide. The setup process can be divided into several stages, including physical installation, configuration, and testing. Here are the steps to follow:
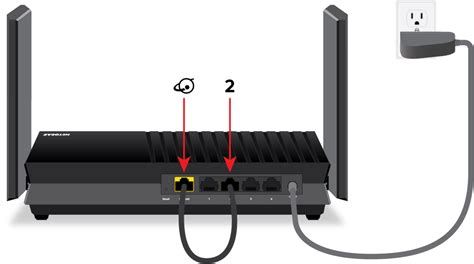
- Physical Installation: The first step is to physically install your Netgear router. This involves connecting the router to your modem and power source. Make sure that the router is placed in a central location, away from walls and other obstacles that can interfere with the Wi-Fi signal.
- Power On: Once the router is installed, power it on by plugging in the power cord. Wait for the router to boot up, which can take a few minutes.
- Connect to the Router: Using a computer or mobile device, connect to the router's network. You can do this by searching for the router's network name (SSID) and entering the password (WEP/WPA key).
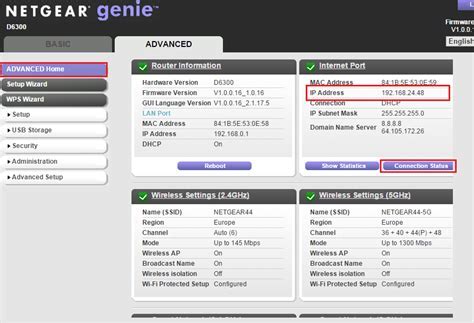
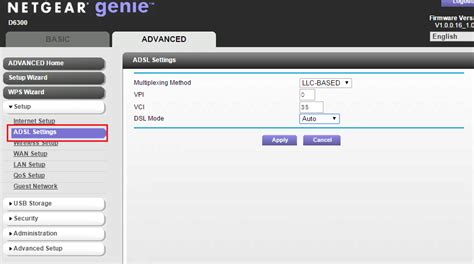
- Access the Web Interface: Open a web browser and type in the router's IP address, which is usually 192.168.0.1 or 192.168.1.1. Press enter to access the web interface.
- Login: You will be prompted to log in to the router using the admin username and password. The default username and password are usually printed on the underside of the router or in the user manual.
- Configure the Router: Once you have logged in, you can start configuring the router. This includes setting up the Wi-Fi network, configuring the firewall, and updating the firmware.
Configuring the Wi-Fi Network
Configuring the Wi-Fi network is an essential part of the setup process. Here are the steps to follow:
- Set the Wi-Fi Network Name (SSID): Choose a unique name for your Wi-Fi network, and enter it in the SSID field.
- Set the Wi-Fi Password (WEP/WPA key): Choose a strong password for your Wi-Fi network, and enter it in the WEP/WPA key field.
- Set the Wi-Fi Channel: Choose a Wi-Fi channel that is not used by other nearby networks, to minimize interference.
- Enable WPA2 Encryption: Enable WPA2 encryption to secure your Wi-Fi network.
Configuring the Firewall
Configuring the firewall is an essential part of securing your network. Here are the steps to follow:
- Enable the Firewall: Enable the firewall to block unauthorized access to your network.
- Configure the Firewall Rules: Configure the firewall rules to allow or block specific types of traffic.
- Enable Port Forwarding: Enable port forwarding to allow specific types of traffic to pass through the firewall.
Testing the Network
Once you have configured the router, it's essential to test the network to ensure that it is working correctly. Here are the steps to follow:
- Connect to the Network: Connect to the network using a computer or mobile device.
- Check the Internet Connection: Check that you have a working internet connection by opening a web browser and accessing a website.
- Check the Wi-Fi Signal: Check the Wi-Fi signal strength to ensure that it is strong and stable.
- Check for Interference: Check for interference from other nearby networks, and adjust the Wi-Fi channel if necessary.
Advanced Configuration Options
In addition to the basic setup options, Netgear routers also offer advanced configuration options for more experienced users. These options include:
- Quality of Service (QoS): Configure QoS to prioritize specific types of traffic, such as video streaming or online gaming.
- Virtual Private Network (VPN): Configure VPN to secure your internet connection when using public Wi-Fi networks.
- Guest Network: Configure a guest network to provide internet access to visitors, while keeping your main network secure.
Troubleshooting Common Issues
Despite the best setup and configuration, issues can still arise. Here are some common issues and their solutions:
- No Internet Connection: Check that the modem is working correctly, and that the router is configured correctly.
- Weak Wi-Fi Signal: Check that the Wi-Fi channel is not used by other nearby networks, and adjust the channel if necessary.
- Slow Internet Speeds: Check that the internet service provider's (ISP) speeds are not throttled, and that the router is configured correctly.
Netgear Router Image Gallery

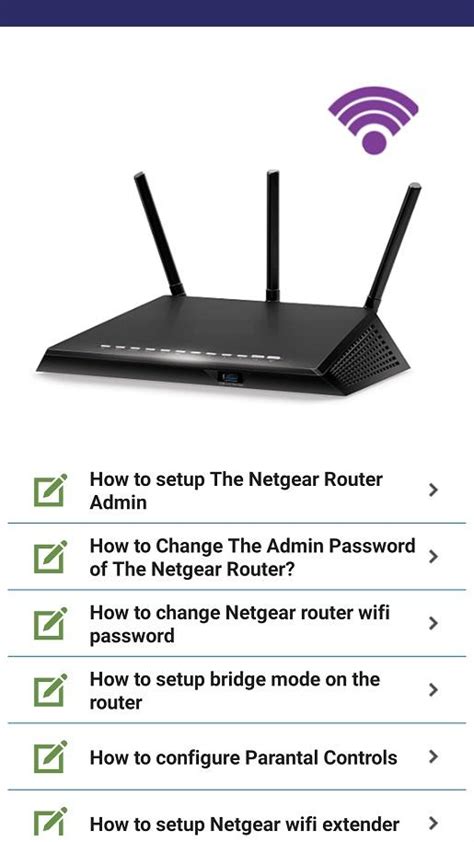

What is the default username and password for my Netgear router?
+The default username and password for your Netgear router can be found in the user manual or on the underside of the router. The default username is usually "admin" and the default password is usually "password".
How do I reset my Netgear router to its factory settings?
+To reset your Netgear router to its factory settings, press and hold the reset button for 10 seconds. This will restore the router to its default settings.
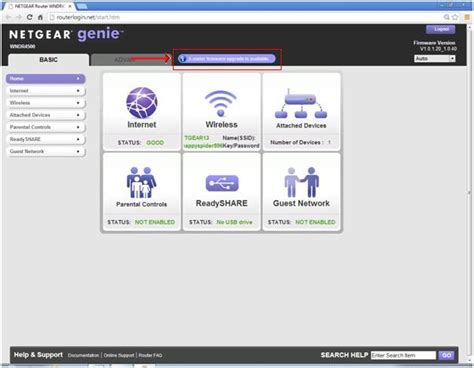
How do I update the firmware on my Netgear router?
+To update the firmware on your Netgear router, log in to the web interface and click on the "Firmware Update" button. Follow the prompts to download and install the latest firmware.
How do I configure the Wi-Fi settings on my Netgear router?
+To configure the Wi-Fi settings on your Netgear router, log in to the web interface and click on the "Wi-Fi Settings" button. From here, you can change the Wi-Fi network name, password, and channel.
How do I troubleshoot common issues with my Netgear router?
+To troubleshoot common issues with your Netgear router, check the user manual or online support resources for troubleshooting guides. You can also contact Netgear support for assistance.
In