

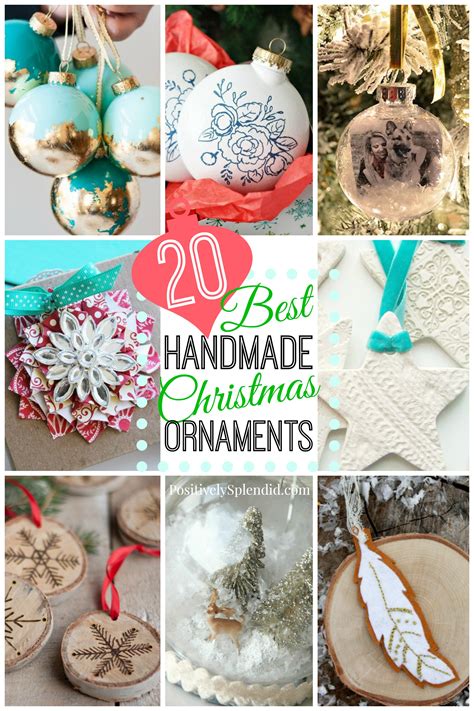
Intro
Discover 5 easy ornaments to elevate your space with simple DIY crafts, handmade decorations, and creative embellishments, perfect for festive decor and home styling.
The art of creating ornaments has been a beloved tradition for many cultures around the world. Ornaments can add a personal touch to any space, making it feel more welcoming and unique. With a few simple materials and some creativity, you can create your own beautiful ornaments to decorate your home, give as gifts, or use as a fun activity to enjoy with family and friends. In this article, we will explore five easy ornament ideas that you can try at home.
Ornaments have been a part of human culture for thousands of years, with ancient civilizations such as the Egyptians, Greeks, and Romans using them to decorate their homes and public spaces. Today, ornaments are used to celebrate various occasions, including holidays, birthdays, and weddings. They can be made from a wide range of materials, including glass, metal, wood, and paper. Whether you're looking to create a traditional ornament or something more modern and unique, there are countless options to choose from.
The process of creating ornaments can be a fun and rewarding experience, allowing you to express your creativity and bring your ideas to life. With a few simple tools and materials, you can create beautiful and intricate designs that reflect your personal style and taste. Ornaments can also be a great way to add a personal touch to your gifts, making them more special and meaningful to the recipient. In addition to their aesthetic value, ornaments can also serve as a reminder of special memories and occasions, making them a treasured keepsake for years to come.
Introduction to Easy Ornaments
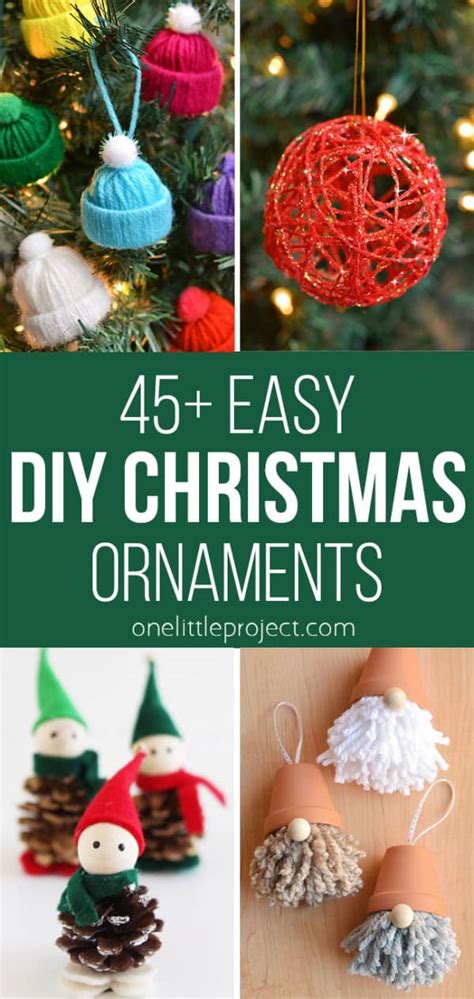
Creating easy ornaments is a great way to get started with this fun and creative hobby. With a few simple materials and some basic techniques, you can create beautiful and unique ornaments to decorate your home or give as gifts. In this section, we will explore the basics of creating easy ornaments, including the materials and tools you will need, as well as some tips and techniques to get you started.
Materials and Tools
To create easy ornaments, you will need a few basic materials and tools. These can include: * Various types of paper, such as construction paper, scrapbook paper, or cardstock * Glue, scissors, and other crafting tools * String, ribbon, or other materials for hanging * Decorations, such as glitter, stickers, or beads * A surface to work on, such as a table or countertopOrnament Idea 1: Paper Snowflakes
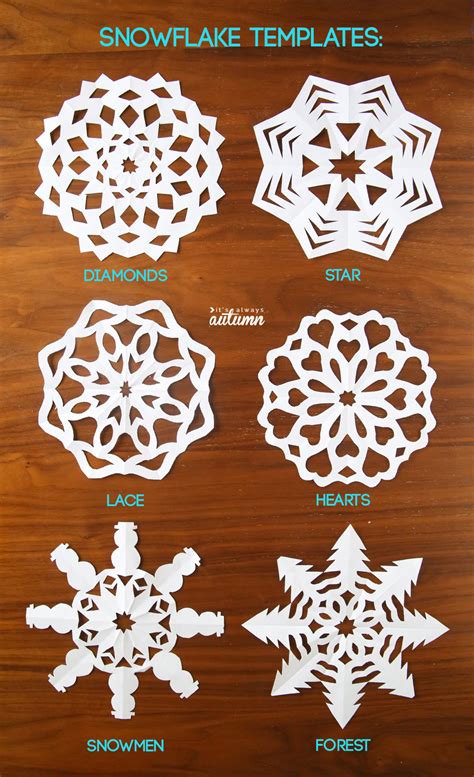
One of the easiest and most classic ornament ideas is the paper snowflake. This traditional design can be created using just a few simple materials, including paper, scissors, and glue. To create a paper snowflake ornament, start by folding a piece of paper in half several times, then cutting out a design along the folded edge. Unfold the paper to reveal your snowflake, then decorate it with glitter, stickers, or other embellishments. Finally, attach a string or ribbon to the top of the snowflake, allowing you to hang it in a window or on the tree.
Steps to Create Paper Snowflakes
Here are the steps to create paper snowflakes: 1. Start with a square piece of paper and fold it in half diagonally to create a triangle. 2. Fold the triangle in half again, creating another diagonal line. 3. Cut out a design along the folded edge of the paper, making sure not to cut all the way through the folded edge. 4. Unfold the paper to reveal your snowflake, then decorate it with glitter, stickers, or other embellishments. 5. Attach a string or ribbon to the top of the snowflake, allowing you to hang it in a window or on the tree.Ornament Idea 2: Salt Dough Ornaments

Another easy ornament idea is the salt dough ornament. This fun and creative project can be made using just a few simple ingredients, including flour, salt, and water. To create a salt dough ornament, start by mixing together the ingredients to form a dough, then shape the dough into your desired design. Use a cookie cutter or other shape to create a uniform shape, or try creating a more free-form design. Once the dough is dry, paint and decorate the ornament with glitter, stickers, or other embellishments.
Steps to Create Salt Dough Ornaments
Here are the steps to create salt dough ornaments: 1. Mix together 2 cups of flour, 1/2 cup of salt, and 1/2 cup of water to form a dough. 2. Knead the dough until it is smooth and pliable, then shape it into your desired design. 3. Use a cookie cutter or other shape to create a uniform shape, or try creating a more free-form design. 4. Allow the dough to dry completely, either by air-drying it or baking it in a low-temperature oven. 5. Once the dough is dry, paint and decorate the ornament with glitter, stickers, or other embellishments.Ornament Idea 3: Photo Ornaments
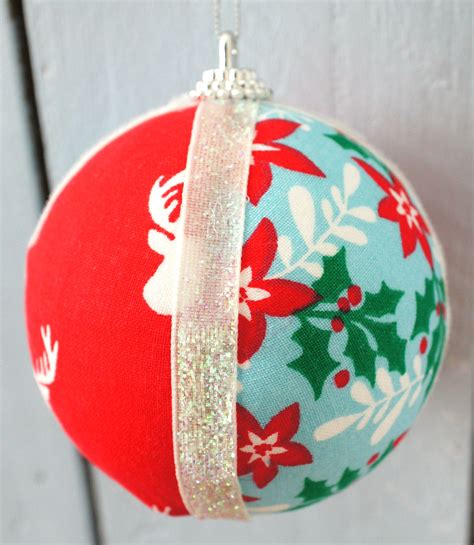
A personalized and meaningful ornament idea is the photo ornament. This easy and fun project can be made using just a few simple materials, including a photo, a frame or other decorative shape, and some glue or other adhesive. To create a photo ornament, start by selecting a favorite photo, then attach it to a frame or other decorative shape using glue or other adhesive. Add some decorations, such as glitter or stickers, then attach a string or ribbon to the top of the ornament, allowing you to hang it on the tree or in a window.
Steps to Create Photo Ornaments
Here are the steps to create photo ornaments: 1. Select a favorite photo and print it out in a small size. 2. Choose a frame or other decorative shape to use as the base of the ornament. 3. Attach the photo to the frame or shape using glue or other adhesive. 4. Add some decorations, such as glitter or stickers, to the ornament. 5. Attach a string or ribbon to the top of the ornament, allowing you to hang it on the tree or in a window.Ornament Idea 4: Pinecone Ornaments
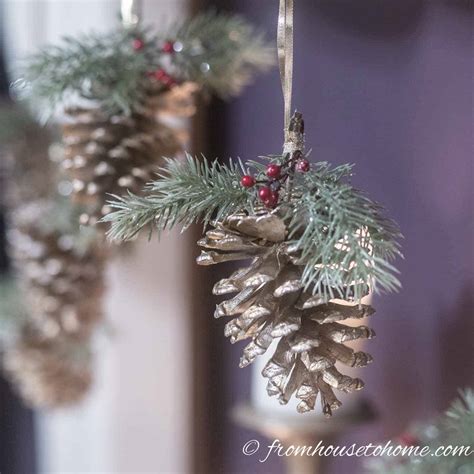
A natural and rustic ornament idea is the pinecone ornament. This easy and fun project can be made using just a few simple materials, including a pinecone, some string or twine, and some decorations, such as glitter or stickers. To create a pinecone ornament, start by selecting a pinecone, then attach a string or twine to the top of the pinecone, allowing you to hang it on the tree or in a window. Add some decorations, such as glitter or stickers, to the pinecone, then enjoy your beautiful and unique ornament.
Steps to Create Pinecone Ornaments
Here are the steps to create pinecone ornaments: 1. Select a pinecone and clean it off with a brush or other tool. 2. Attach a string or twine to the top of the pinecone, allowing you to hang it on the tree or in a window. 3. Add some decorations, such as glitter or stickers, to the pinecone. 4. Enjoy your beautiful and unique ornament, or give it as a gift to a friend or family member.Ornament Idea 5: Recycled Material Ornaments
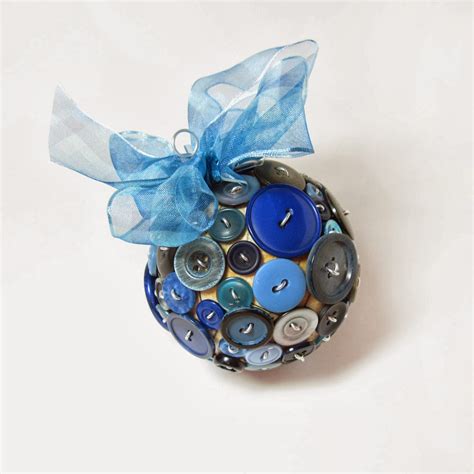
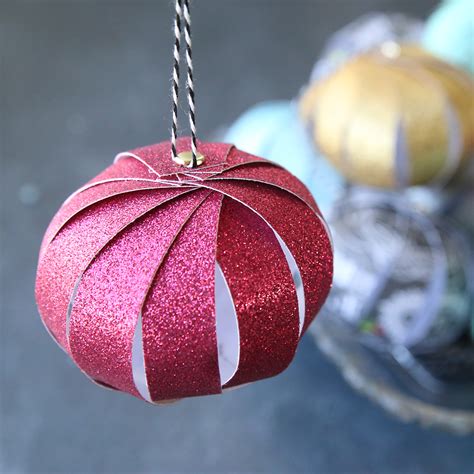
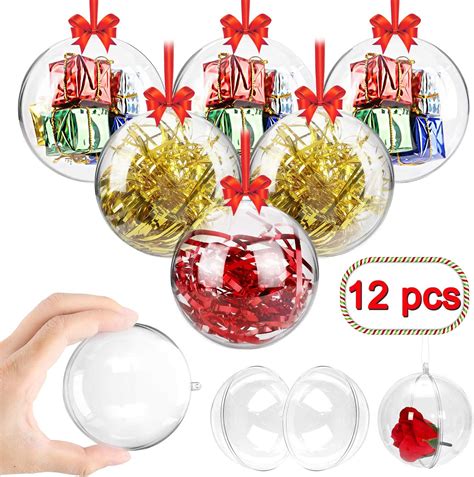
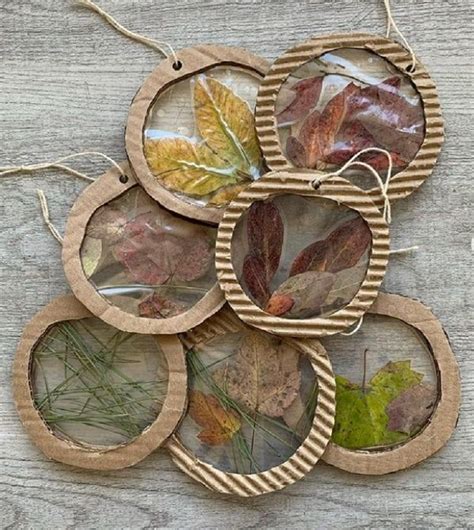
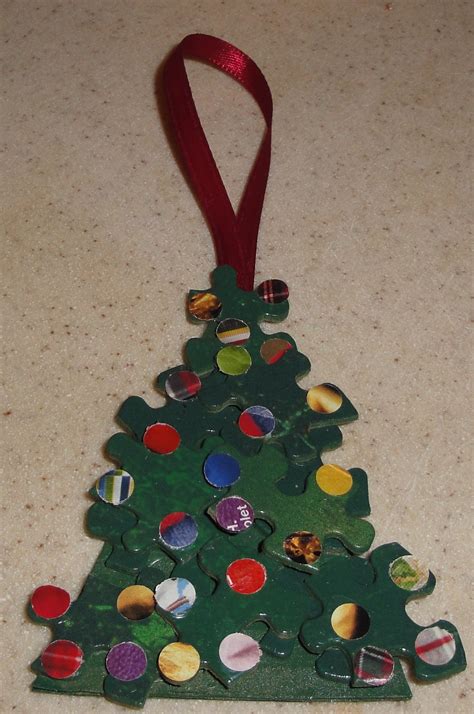
A creative and eco-friendly ornament idea is the recycled material ornament. This fun and easy project can be made using just a few simple materials, including recycled materials, such as cardboard, plastic, or glass, and some glue or other adhesive. To create a recycled material ornament, start by selecting a recycled material, then shape it into your desired design. Use glue or other adhesive to hold the shape together, then add some decorations, such as glitter or stickers. Finally, attach a string or ribbon to the top of the ornament, allowing you to hang it on the tree or in a window.
Steps to Create Recycled Material Ornaments
Here are the steps to create recycled material ornaments: 1. Select a recycled material, such as cardboard, plastic, or glass. 2. Shape the material into your desired design, using glue or other adhesive to hold the shape together. 3. Add some decorations, such as glitter or stickers, to the ornament. 4. Attach a string or ribbon to the top of the ornament, allowing you to hang it on the tree or in a window. 5. Enjoy your beautiful and unique ornament, or give it as a gift to a friend or family member.Easy Ornaments Image Gallery


What materials can I use to make easy ornaments?
+You can use a variety of materials to make easy ornaments, including paper, salt dough, photos, pinecones, and recycled materials.
How do I make a paper snowflake ornament?
+To make a paper snowflake ornament, start by folding a piece of paper in half several times, then cutting out a design along the folded edge. Unfold the paper to reveal your snowflake, then decorate it with glitter, stickers, or other embellishments. Finally, attach a string or ribbon to the top of the snowflake, allowing you to hang it in a window or on the tree.
Can I use recycled materials to make ornaments?
+Yes, you can use recycled materials to make ornaments. Simply shape the material into your desired design, use glue or other adhesive to hold the shape together, and add some decorations, such as glitter or stickers. Finally, attach a string or ribbon to the top of the ornament, allowing you to hang it on the tree or in a window.
How do I make a photo ornament?
+To make a photo ornament, start by selecting a favorite photo, then attach it to a frame or other decorative shape using glue or other adhesive. Add some decorations, such as glitter or stickers, then attach a string or ribbon to the top of the ornament, allowing you to hang it on the tree or in a window.
Can I make ornaments with my kids?
+Yes, making ornaments can be a fun and creative activity to enjoy with your kids. Simply gather some materials, such as paper, glue, and glitter, and let your kids' imagination run wild. You can make paper snowflakes, salt dough ornaments, photo ornaments, and more.
We hope you have enjoyed this article on easy ornaments and have found some inspiration for your next crafting project. Whether you're looking to create a traditional ornament or something more modern and unique, there are countless options to choose from. With a few simple materials and some basic techniques, you can create beautiful and meaningful ornaments to decorate your home or give as gifts. So why not get started today and see what you can create? Share your favorite easy ornament ideas with us in the comments below, and don't forget to share this article with your friends and family on social media. Happy crafting!