
Intro
Boost conservation with 5 Rhino Printable Tips, featuring endangered species, wildlife preservation, and eco-friendly printing methods for a sustainable future.
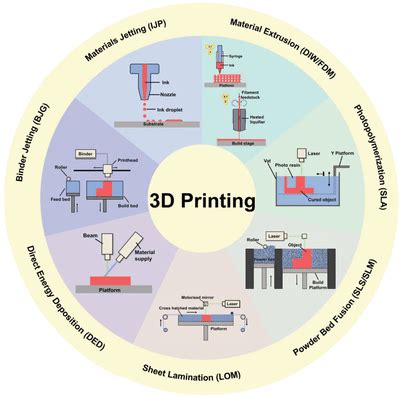
The world of 3D printing has revolutionized the way we design and create objects, and Rhino printable models have become increasingly popular among designers, architects, and hobbyists. With the ability to create complex and detailed designs, Rhino has become a go-to software for those looking to bring their ideas to life. However, printing these models can be a challenging task, especially for those who are new to 3D printing. In this article, we will explore five Rhino printable tips to help you achieve high-quality prints and overcome common challenges.
When it comes to 3D printing, the quality of the print is directly related to the quality of the design. A well-designed model can make all the difference in the printing process, and Rhino provides a wide range of tools and features to help you create accurate and detailed designs. From the initial design phase to the final print, it's essential to consider the printing process and the limitations of your 3D printer. By understanding the capabilities and limitations of your printer, you can optimize your design for the best possible results.
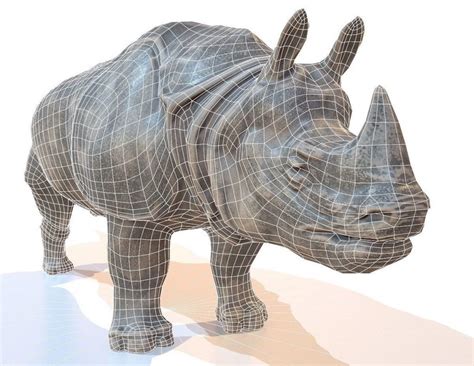
One of the most critical aspects of 3D printing is the preparation of the model for printing. This includes ensuring that the model is watertight, has the correct wall thickness, and is oriented correctly on the print bed. Rhino provides a range of tools and plugins to help with this process, including the popular RhinoCAM and Grasshopper plugins. These tools allow you to analyze and optimize your model for printing, ensuring that it is ready for production.
Understanding Rhino Printable File Formats

STL Files
STL files are the most commonly used file format in 3D printing. They are widely supported and can be used with most 3D printers. STL files contain information about the model's geometry, including the location of vertices, edges, and faces. However, they do not contain any information about the model's texture or color. When working with STL files, it's essential to ensure that the model is watertight and has the correct wall thickness.OBJ Files
OBJ files are another popular file format used in 3D printing. They provide more detailed information about the model's geometry and texture than STL files. OBJ files contain information about the model's vertices, edges, and faces, as well as its texture and color. This makes them ideal for printing models with complex textures and colors. However, OBJ files can be larger than STL files, which can make them more difficult to work with.Optimizing Rhino Models for Printing
When optimizing Rhino models for printing, there are several factors to consider. These include:
- Wall thickness: The wall thickness of the model should be sufficient to ensure that it is strong and durable. A minimum wall thickness of 1-2 mm is recommended.
- Orientation: The orientation of the model on the print bed can significantly affect the printing process. It's essential to orient the model in a way that minimizes support material and ensures that it is printed correctly.
- Support material: Support material is used to support overhanging features of the model during printing. It's essential to minimize support material to ensure that the model is printed correctly and to reduce waste.
Using RhinoCAM and Grasshopper Plugins
The RhinoCAM and Grasshopper plugins are popular tools used to optimize Rhino models for printing. These plugins provide a range of features and tools to help analyze and optimize models, including: * Model analysis: The plugins provide detailed analysis of the model, including its geometry, texture, and color. * Optimization: The plugins allow you to optimize the model for printing, including adjusting wall thickness, orientation, and support material. * Simulation: The plugins provide simulation tools to help predict the printing process and identify potential issues.Preparing Rhino Models for Slicing
When preparing Rhino models for slicing, there are several factors to consider. These include:
- Layer height: The layer height should be sufficient to ensure that the model is printed correctly and with minimal waste. A minimum layer height of 0.1-0.2 mm is recommended.
- Infill density: The infill density should be sufficient to ensure that the model is strong and durable. A minimum infill density of 10-20% is recommended.
- Support material: Support material is used to support overhanging features of the model during printing. It's essential to minimize support material to ensure that the model is printed correctly and to reduce waste.
Using Slic3r and Cura Plugins
The Slic3r and Cura plugins are popular tools used to prepare Rhino models for slicing. These plugins provide a range of features and tools to help optimize the model for slicing, including: * Model analysis: The plugins provide detailed analysis of the model, including its geometry, texture, and color. * Optimization: The plugins allow you to optimize the model for slicing, including adjusting layer height, infill density, and support material. * Simulation: The plugins provide simulation tools to help predict the printing process and identify potential issues.Troubleshooting Common Issues
Some common issues that can arise when printing Rhino models include:
- Warping: Warping occurs when the model distorts or bends during printing. This can be caused by a range of factors, including incorrect temperature settings, insufficient adhesion, or incorrect model orientation.
- Delamination: Delamination occurs when the layers of the model separate or detach during printing. This can be caused by a range of factors, including incorrect temperature settings, insufficient adhesion, or incorrect model orientation.
- Support material issues: Support material issues can occur when the support material is not printed correctly or is difficult to remove. This can be caused by a range of factors, including incorrect support material settings, insufficient adhesion, or incorrect model orientation.
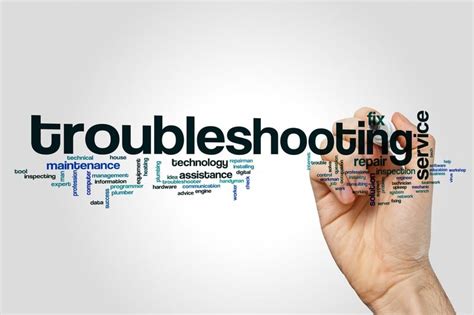
Using Troubleshooting Tools
Rhino provides a range of troubleshooting tools to help identify and resolve common issues. These tools include: * Model analysis: Rhino provides detailed analysis of the model, including its geometry, texture, and color. * Simulation: Rhino provides simulation tools to help predict the printing process and identify potential issues. * Debugging: Rhino provides debugging tools to help identify and resolve issues during printing.Post-Printing Techniques
Some common post-printing techniques include:
- Sanding: Sanding involves smoothing the surface of the model to remove any rough edges or burrs.
- Painting: Painting involves applying a coat of paint to the model to enhance its appearance and durability.
- Assembly: Assembly involves assembling multiple parts of the model to create a complete and functional product.
Using Post-Printing Tools
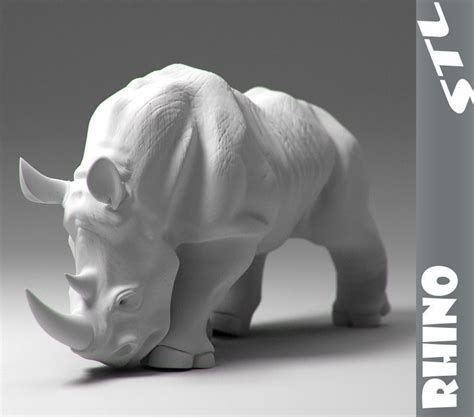
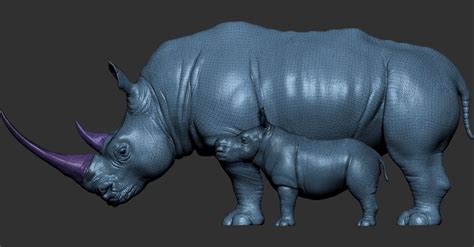
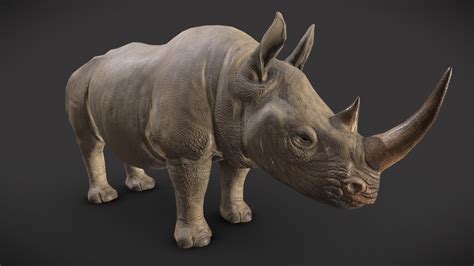
Rhino provides a range of post-printing tools to help with post-printing techniques. These tools include: * Model analysis: Rhino provides detailed analysis of the model, including its geometry, texture, and color. * Simulation: Rhino provides simulation tools to help predict the post-printing process and identify potential issues. * Debugging: Rhino provides debugging tools to help identify and resolve issues during post-printing.Rhino Printable Image Gallery


What is Rhino and how is it used in 3D printing?
+Rhino is a 3D modeling software that is widely used in the field of 3D printing. It is used to create complex and detailed models that can be printed using a 3D printer.
What are the benefits of using Rhino for 3D printing?
+The benefits of using Rhino for 3D printing include the ability to create complex and detailed models, the ability to optimize models for printing, and the ability to simulate the printing process.
What are some common issues that can arise when printing Rhino models?
+Some common issues that can arise when printing Rhino models include warping, delamination, and support material issues. These issues can be caused by a range of factors, including incorrect temperature settings, insufficient adhesion, or incorrect model orientation.
In conclusion, printing Rhino models can be a challenging task, but by following these five Rhino printable tips, you can ensure that your prints are successful and of high quality. From understanding Rhino printable file formats to troubleshooting common issues, these tips will help you to optimize your models for printing and achieve the best possible results. Whether you are a seasoned designer or a hobbyist, these tips will help you to unlock the full potential of Rhino and create complex and detailed models that can be printed with ease. So why not give them a try and see the difference for yourself? Share your experiences and tips in the comments below, and don't forget to share this article with your friends and colleagues who may be interested in 3D printing and Rhino.