
Intro
Boost window printing with 5 expert tips, featuring printable window film, sticker paper, and vinyl applications, for perfect window decals, clings, and signs.
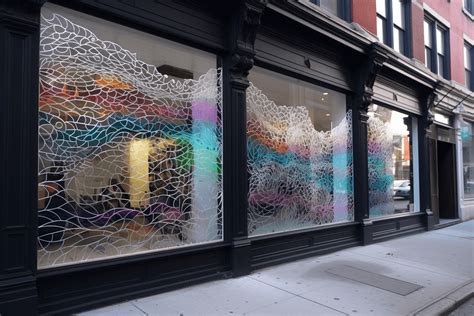
Window printing is a fascinating topic that has gained significant attention in recent years, especially with the advancements in technology and the increasing demand for unique marketing strategies. The importance of window printing lies in its ability to transform plain windows into vibrant and eye-catching displays, perfect for businesses, events, and even personal use. As we delve into the world of window printing, it's essential to understand the various techniques, materials, and tips involved in creating stunning window prints.
The benefits of window printing are numerous, ranging from enhanced visibility and brand awareness to increased foot traffic and customer engagement. Whether you're a business owner looking to promote your products or services, an event planner seeking to create an immersive experience, or an individual wanting to add a personal touch to your home or office, window printing offers a versatile and effective solution. With the right techniques and materials, you can create stunning window prints that captivate your audience and leave a lasting impression.
As we explore the world of window printing, it's crucial to consider the various factors that contribute to a successful print job. From choosing the right materials and designs to ensuring proper installation and maintenance, every aspect plays a vital role in creating a breathtaking window display. In this article, we'll dive into the top 5 window printable tips, providing you with valuable insights and expert advice to help you achieve professional-looking results.
Understanding Window Printing Materials
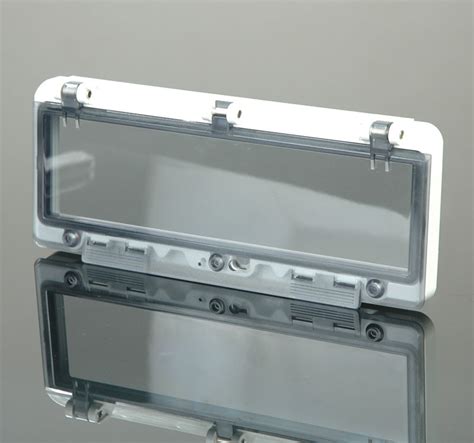
Choosing the Right Material for Your Project
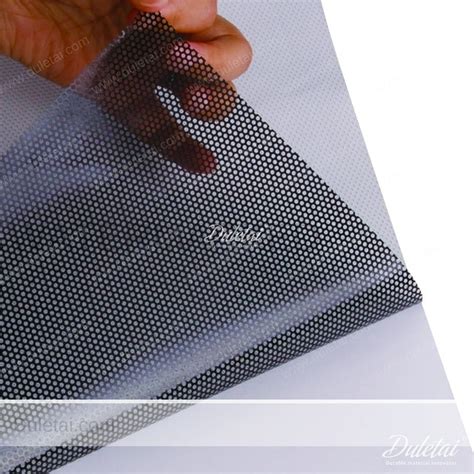
To ensure a successful print job, it's crucial to select the right material for your project. Consider factors such as the intended use, environmental conditions, and desired level of permanence. For example, if you're creating a temporary display for an event, a non-adhesive film may be the best option, while a permanent installation may require a more durable material like vinyl. By understanding the characteristics of each material, you can make informed decisions and achieve the desired results.Designing for Window Printing

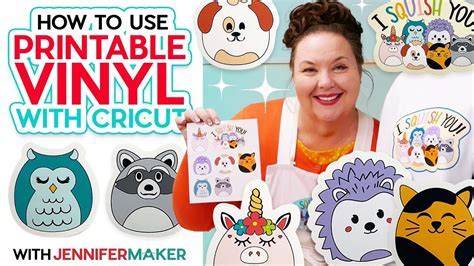
Best Practices for Window Printing Design
To create stunning window prints, it's essential to follow best practices for design. This includes: * Using vector graphics and high-resolution images to ensure crisp, clear details. * Avoiding clutter and excessive text, which can detract from the overall visual impact. * Testing your design on different substrates and viewing angles to ensure optimal results. * Collaborating with a professional designer or printer to ensure your design is optimized for window printing.Preparing Your Window for Printing
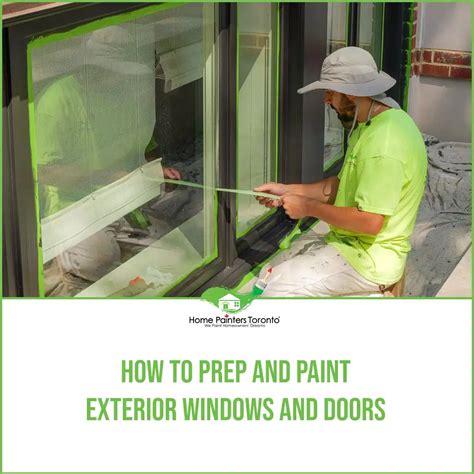
Common Mistakes to Avoid When Preparing Your Window
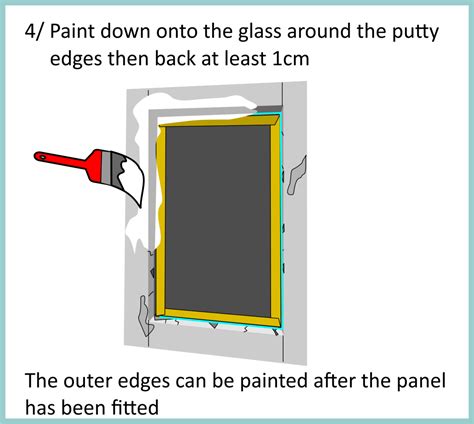
When preparing your window for printing, it's crucial to avoid common mistakes that can compromise the quality of the print. This includes: * Failing to clean the window properly, which can lead to poor adhesion and bubbling. * Applying the print to a wet or damp surface, which can cause the material to stretch or distort. * Not removing existing obstructions, which can create air pockets and bubbles. * Using the wrong cleaning solutions or materials, which can damage the window or interfere with the printing process.Applying and Maintaining Your Window Print
Tips for Long-Lasting Window Prints
To extend the life of your window print, consider the following tips: * Avoid exposing the print to direct sunlight or extreme temperatures, which can cause fading or degradation. * Use a UV-resistant coating or laminate to protect the print from ultraviolet light. * Avoid using harsh chemicals or cleaning solutions, which can damage the material or compromise adhesion. * Regularly inspect the print for signs of wear or damage, and replace it as needed to maintain a professional appearance.Measuring and Cutting Your Window Print
Common Mistakes to Avoid When Measuring and Cutting
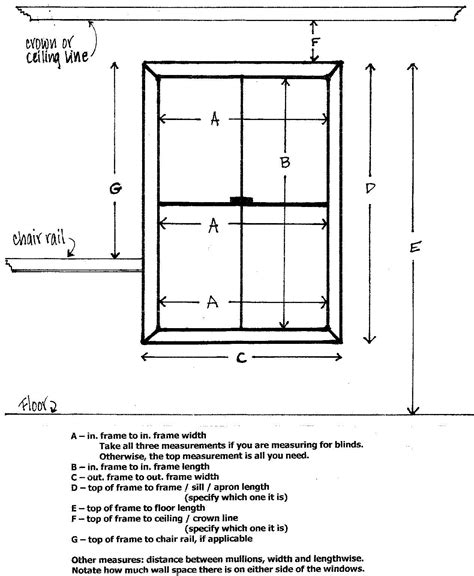
When measuring and cutting your window print, it's essential to avoid common mistakes that can compromise the quality of the installation. This includes: * Failing to measure the window accurately, which can result in a poorly fitting print. * Cutting the material too small, which can leave gaps or exposed areas. * Using a dull or worn cutting tool, which can cause fraying or distortion. * Not leaving enough margin around the edges, which can make trimming and adjustment difficult.Window Printing Image Gallery

What is the best material for window printing?
+The best material for window printing depends on the intended use, environmental conditions, and desired level of permanence. Common materials include vinyl, static cling, and adhesive films.
How do I design for window printing?
+Designing for window printing requires a unique approach, taking into account the transparent nature of the substrate and the intended viewing angle. Use bold, vibrant colors, simple typography, and contrasting elements to create visual interest and hierarchy.
How do I prepare my window for printing?
+Prepare your window by cleaning it thoroughly, removing any existing obstructions, and applying a primer or coating if necessary. Ensure the window is dry and free of moisture before applying the print.
How do I apply and maintain my window print?
+Apply the print slowly and carefully, using a squeegee or other tool to remove air bubbles and excess moisture. Regularly clean and maintain the print to prevent dirt and grime from accumulating, and avoid exposing it to direct sunlight or extreme temperatures.
How do I measure and cut my window print accurately?
+Measure the window accurately, taking into account any obstructions or irregularities. Create a template or mockup to test the design, and cut the material carefully using a sharp blade or cutting tool. Leave a small margin around the edges to allow for trimming and adjustment during installation.
As we conclude our exploration of the top 5 window printable tips, we hope you've gained valuable insights and expert advice to help you achieve professional-looking results. Whether you're a business owner, event planner, or individual looking to add a personal touch to your space, window printing offers a versatile and effective solution. By following these tips and best practices, you can create stunning window prints that captivate your audience and leave a lasting impression. So why not give window printing a try? Share your experiences, ask questions, and join the conversation to learn more about this exciting and creative medium.